A year ago I was new to the online quilting community and was really happy to find all the fabulous people to follow and groups to join. I have been quilting for a long time and can usually look at photo of any quilt and figure out how to make it, so I didn’t really see the point in taking classes. However, after following a few people and groups, I began to see that different people had very different takes on the same quilts and blocks. Finding that interesting, I joined 3 groups – the longest project being the Splendid Sampler.
I first talked about this project here – it started about a year ago and was hosted by Pat Sloan and Jane Davidson. There were a total of 100 blocks, plus another 20 or so bonus blocks, with the 100th block posted on February 12, 2017. The blocks have been posted on a website, but the book for the project is about to be published and the patterns on the website will go away (I think the bonus blocks will stay).
All of these blocks were 6″. 6″ are small blocks – really small when you consider how much detail was packed into these small little patterns. I found the process pretty frustrating at first, but I learned a lot through the year, and I thought I’d share my learnings now that I’ve finished all the blocks.
Ann’s Splendid Learnings
- By doing this project, my piecing got a lot more accurate. It’s one thing to fudge things fitting together in larger blocks (10″-12″), but with 6″ blocks, sometimes with 1″ pieces, you have to get it right. All of it – the cutting, 1/4″ seam allowance, piecing, pinning, and pressing. It was interesting – I found myself really struggling and fighting the blocks at first, but by the end they were really going together quickly and accurately. Believe me, realizing this at the end was really rewarding!
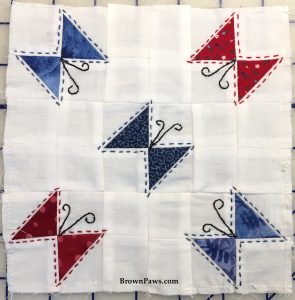
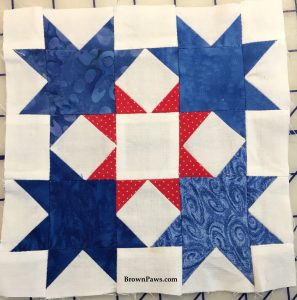
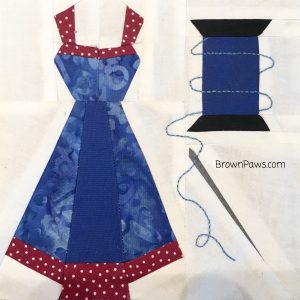
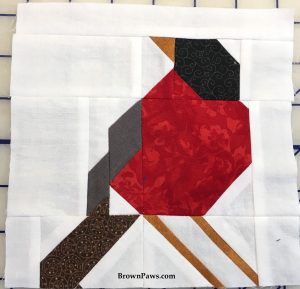
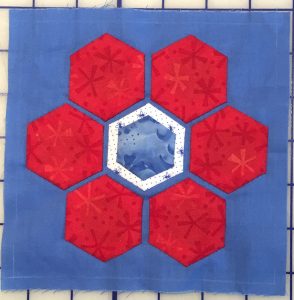
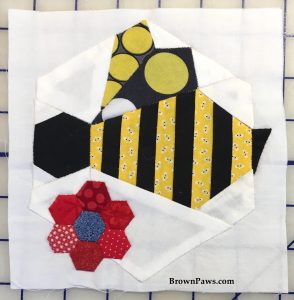
Here are a few of the small detailed blocks:
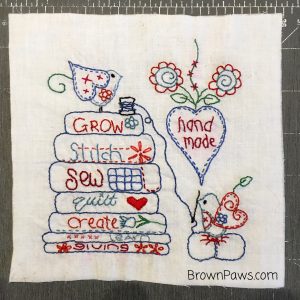
2. I rediscovered my interest in embroidery. At first these blocks were intimidating, but I loved picking out the colors and doing some slow stitching.
![]()
3. Speaking of embroidery, I did try Sulky Sticky Fabri-Solvy a few times, but I really didn’t like it. Instead I finally bought a blue water soluble pen and I love it. While it was nice to just print the pattern on to the Fabri-Solvy and not have to trace it, I found the solvy made the fabric sticky and stiff. Tracing the pattern didn’t take too long, and the ink just came right off. I’m now using the soluble marker for all sorts of marking – it is a great tool.
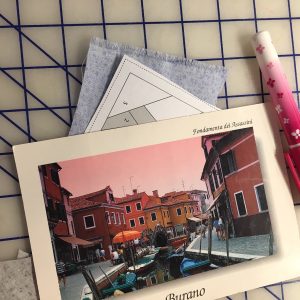
4. I also found I really like paper piecing. I had done some in the past, but on much larger blocks. I will say there was no way I could have done these paper pieced blocks without first watching the tutorials that Alyssa Thomas of Penguin and Fish published.
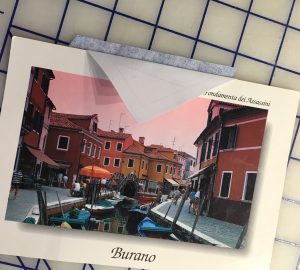
The key is using a card to fold the paper as you sew the pieces on. First you glue down the fabric to the paper under the number 1 to hold it in place (right side out, wrong side of fabric against the paper). Then you put a stiff piece of paper – like a postcard – along the line between the #1 and #2. (I use my Burano, Italy postcard!)
Fold the paper back over the postcard along that line:
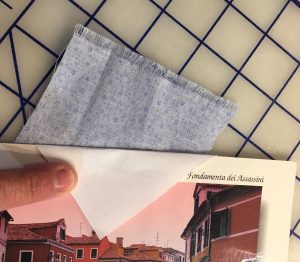
Cut the fabric 1/4″ beyond the edge of the postcard.
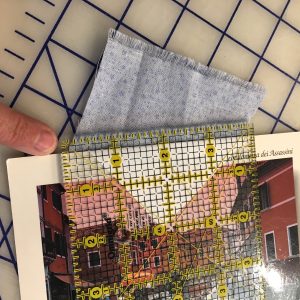
You then line up the next piece of fabric along that cut edge, flip the piece over, and sew along the line. Press it open, and continue working through the numbers. Lots of steps, but so much easier and more precise than just holding up the paper to the light and trying to line up the next piece by looking through it!
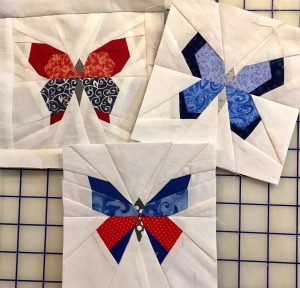
These are my bonus block butterflies:
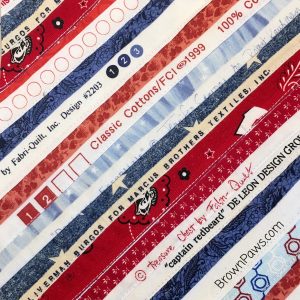
5. The Sewline glue pen is my new best friend. I had been collecting selvages because I really liked some of the selvage projects I had seen online. Because of this, I was really happy when block #33 – Selvage Saver – was released. Pat also did a written tutorial on working with selvages, which included the Sewline glue pen. I bought one, used it on that block, and used it on a bunch of other blocks as well – both paper piecing (see above!) and English Paper Piecing.
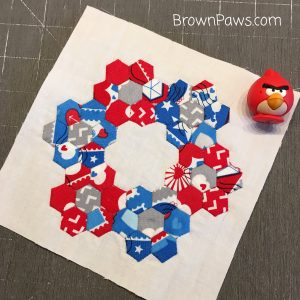
6. I had seen a bunch of people doing hexies online, but didn’t really have any interest in trying them out. Therefore I was really happy to see block #36 – Inchy Hexagon Club – show up, but man were those hexies small! I found I really liked making hexies and will likely make more (enjoyed #41 with bigger hexies), but I also found through other blocks that EPP in general is not my favorite thing. Too many really small pieces, and I’m not very good at joining the pieces in a clean way. If given the chance, I paper pieced what I could of these blocks.
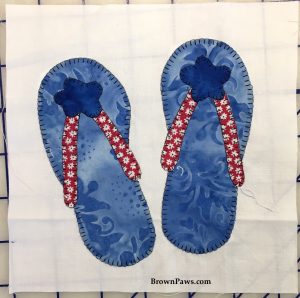
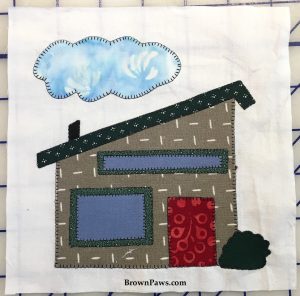
7. Finally, I confirmed that I really don’t like appliqué. I can do fusible appliqué, and can secure the edges with a button hole or satin stitch, but it is not my favorite. I did like the flip flop bonus block, and #56 – At Home Anywhere, which I made to look like our place in Pagosa.
All in all it was a great project. I completed all 100 blocks, and and additional 20 bonus blocks. Here’s a stack of them all.

I’m now working on a layout so I can get them all sewn together. I did all of the blocks using my stash, but amazingly I still have a ton of the fabrics left to do the setting. It’s going to be a big quilt.
Thanks to Pat and Jane for coordinating this awesome project. It was a great experience and I’m looking forward to the finished product!