I really like to buy pre-cuts. I like getting the variety of all the fabrics without having to stand around and get all of that fabric cut. However, I then wind up with a lot of pre-cuts that I’m not sure what to do with.
I had this layer cake that I had no plan for, and at this point I don’t even remember what fabric line it is. I went looking at the Moda Bake Shop and found this rings quilt, created by Melissa Corry. I really like circles and rings in quilts, so this quilt was a good one for me.
Construction of the quilt top was really easy – just sew together 4 rows of 4 layer cake squares each, making a 16 square, 4×4 grid. You then cut out various sized rings from the rest of the fabric and use basting spray to attach them to the top, linking them up to make chains of rings. For quilting on a domestic machine, she has you baste the grid to your batting and backing before adding the rings. You then quilt the whole thing, using the quilting to stitch down the rings permanently. Since I was doing this on a long arm, I spray basted the rings to the grid and then loaded it on the frame as I would any other quilt top.
This was the process I used to spray baste the rings. It is very similar to Melissa’s, and her tutorial was very good. Here is my box for the spraying:
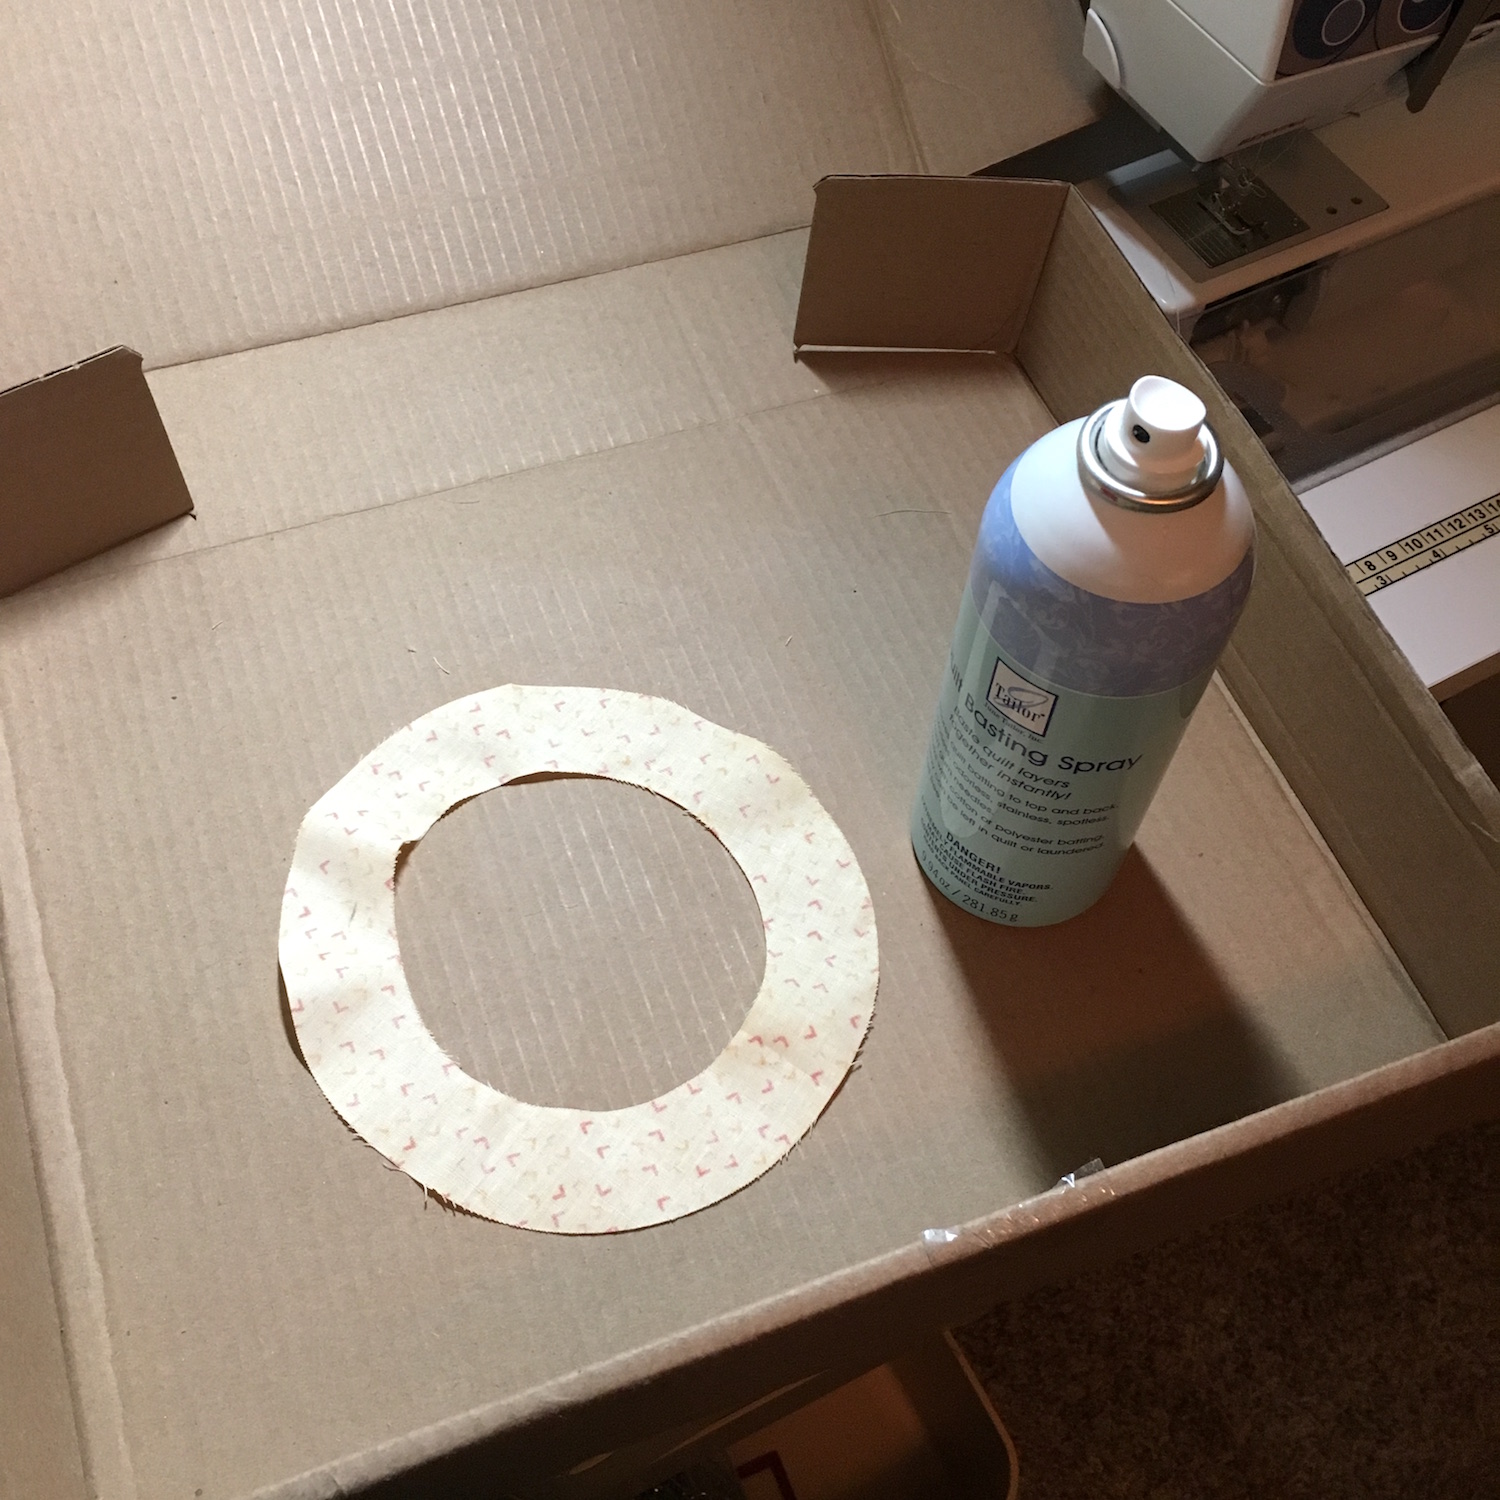
I laid out the rings in a section of the top to decide how to arrange them:

Cut the ring I wanted to connect in:

Tuck it behind the ring I was connecting it to:

and then make sure it stuck to the top:

More rings:
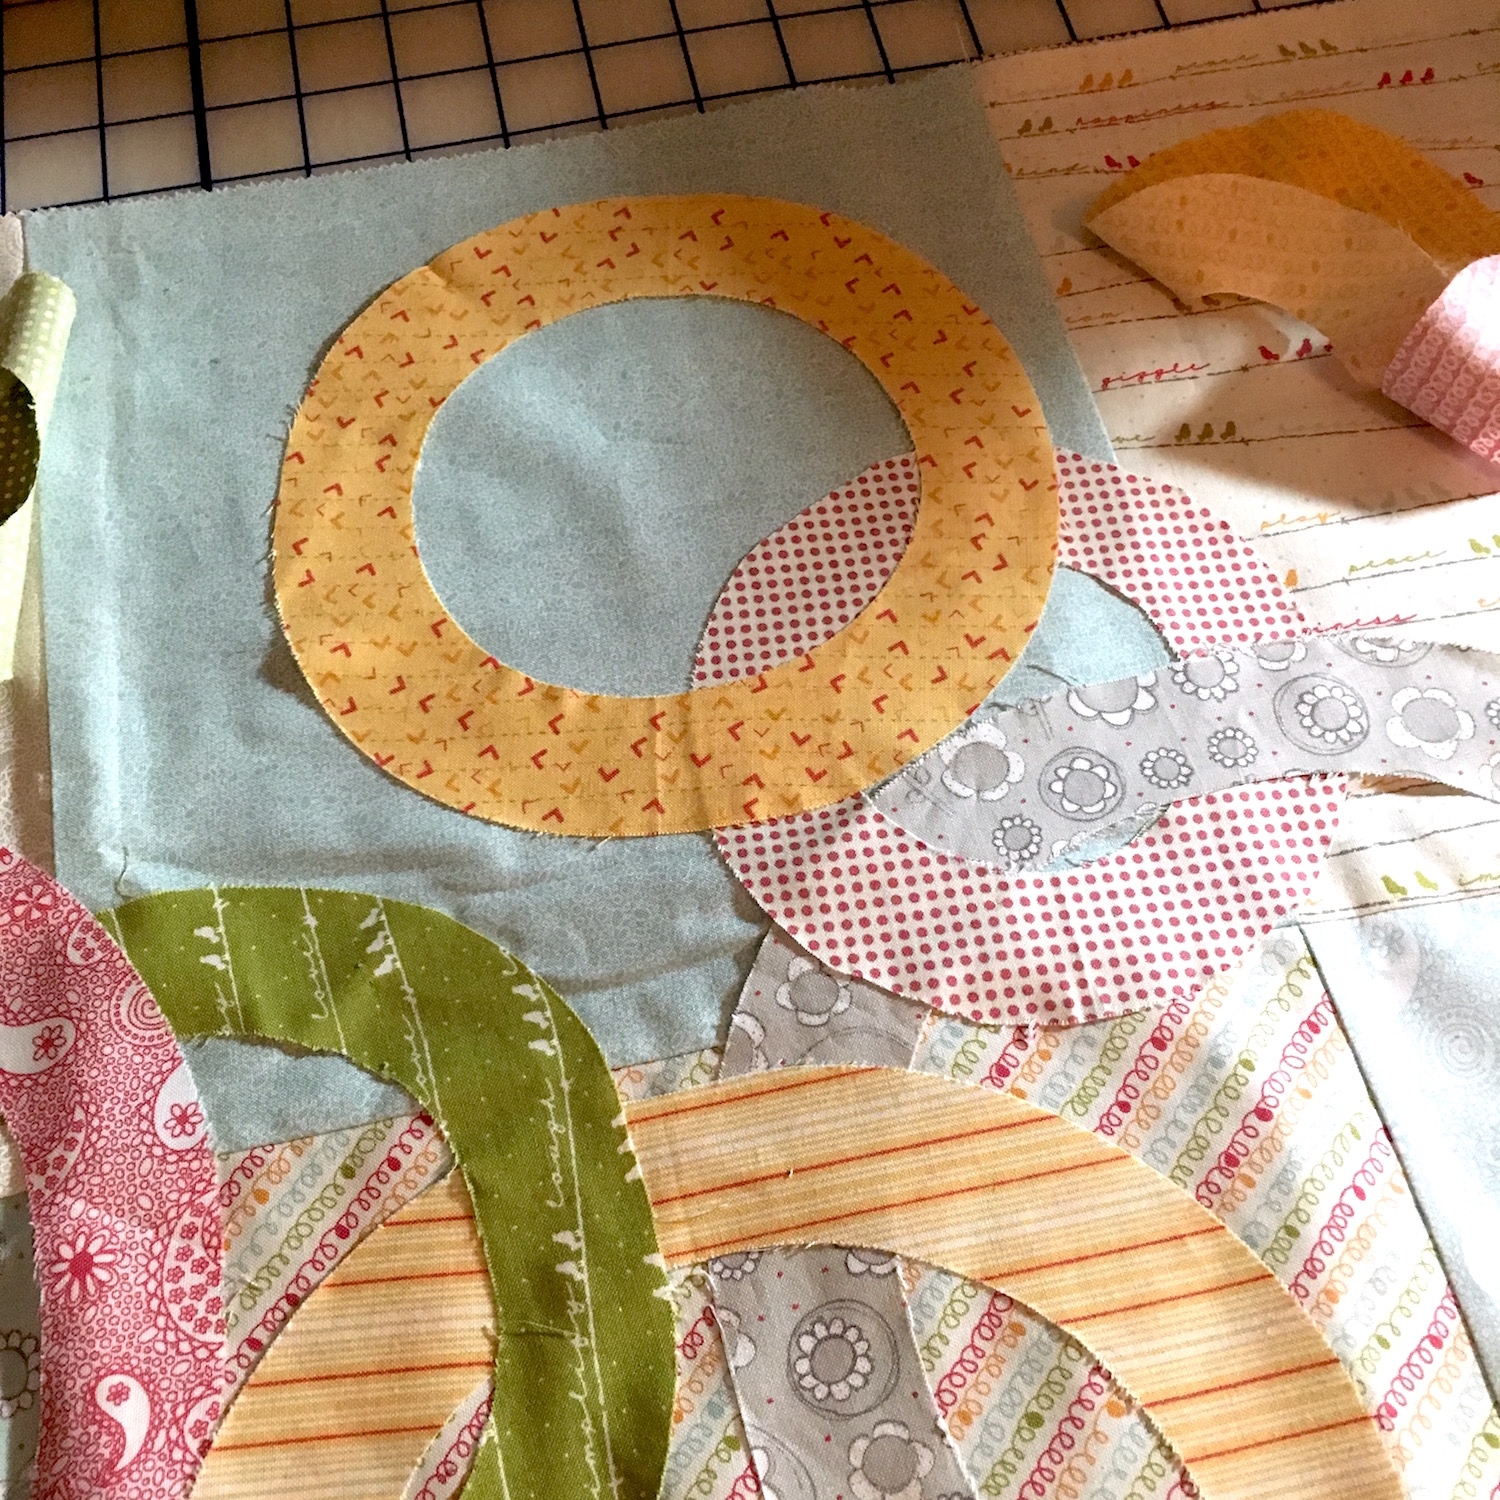
Some of the rings were pesky about wanting to stick down, so the loading it on the frame was a very delicate, careful process.
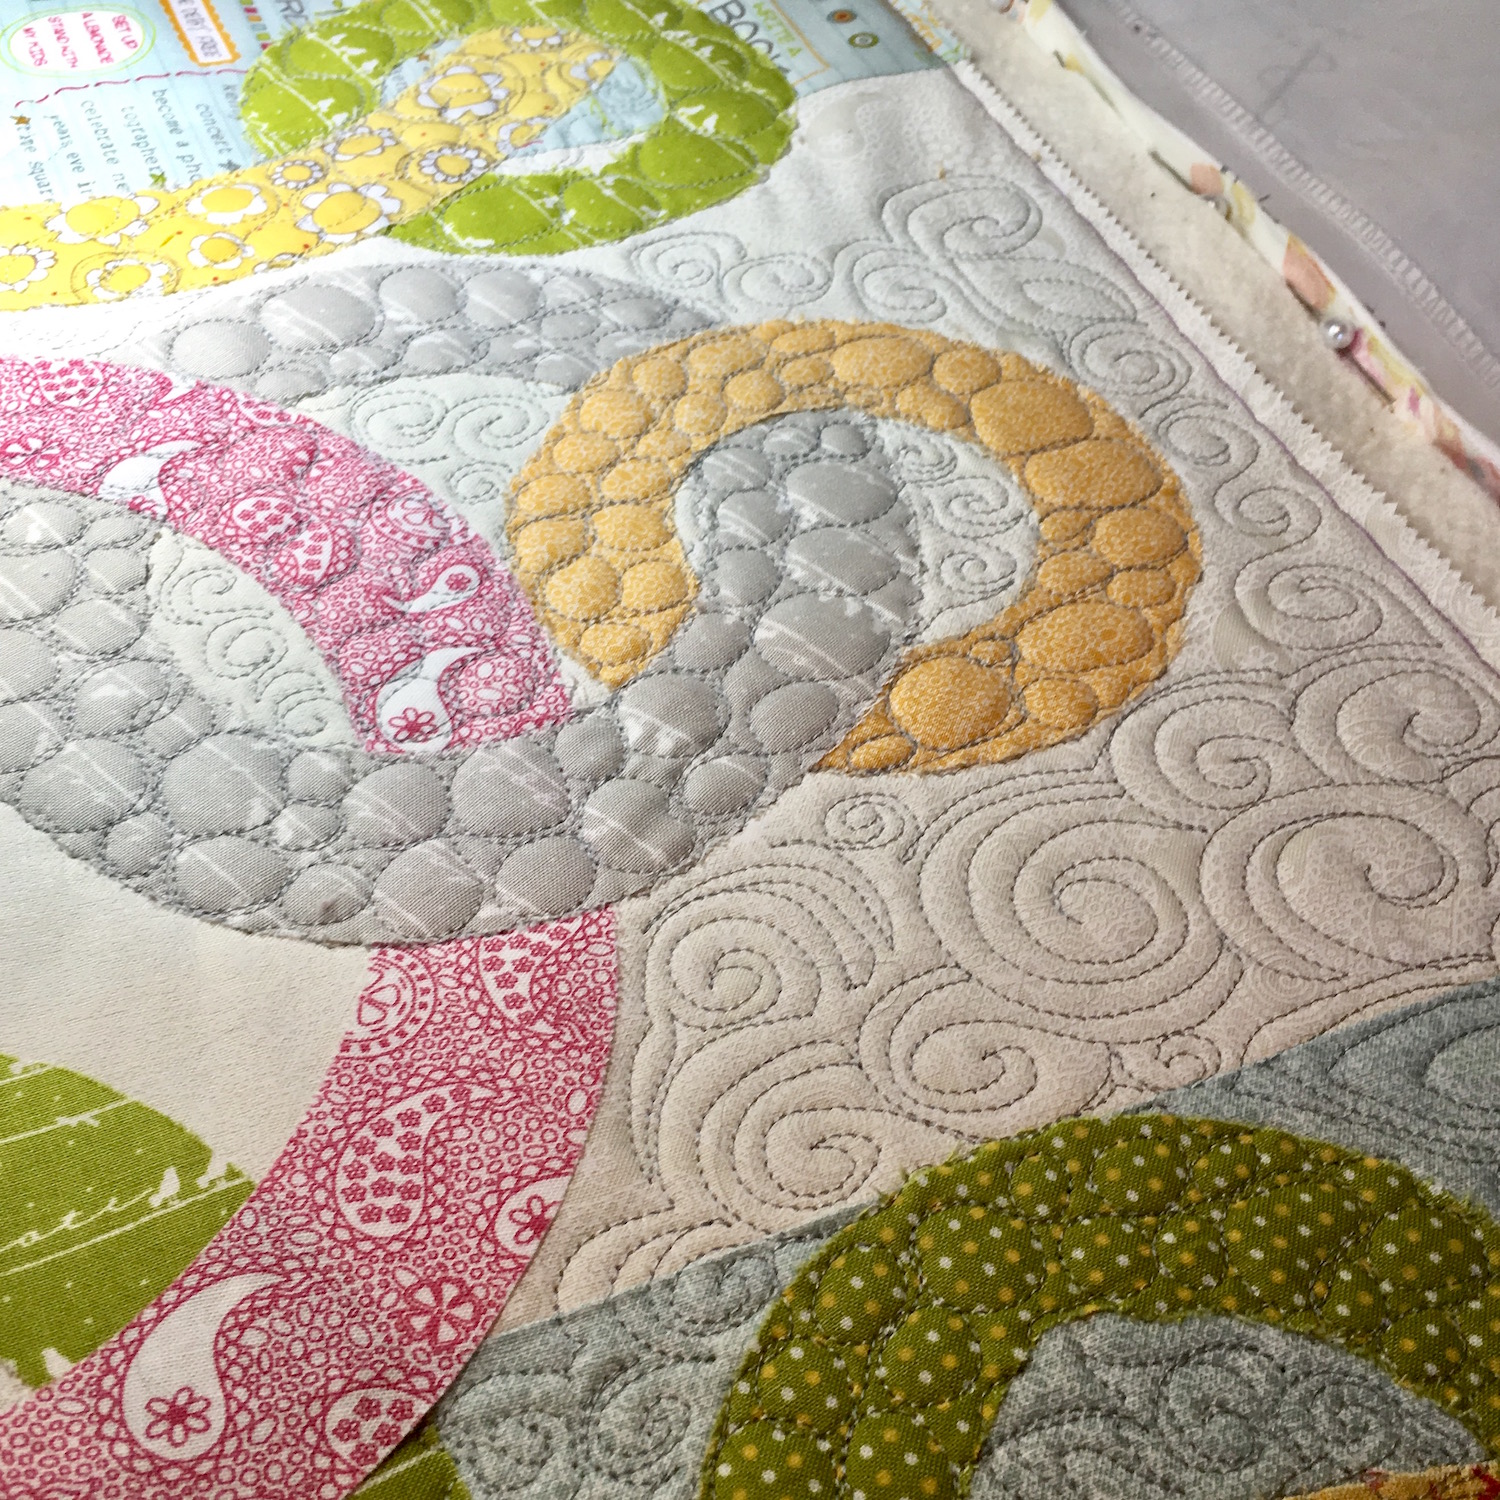
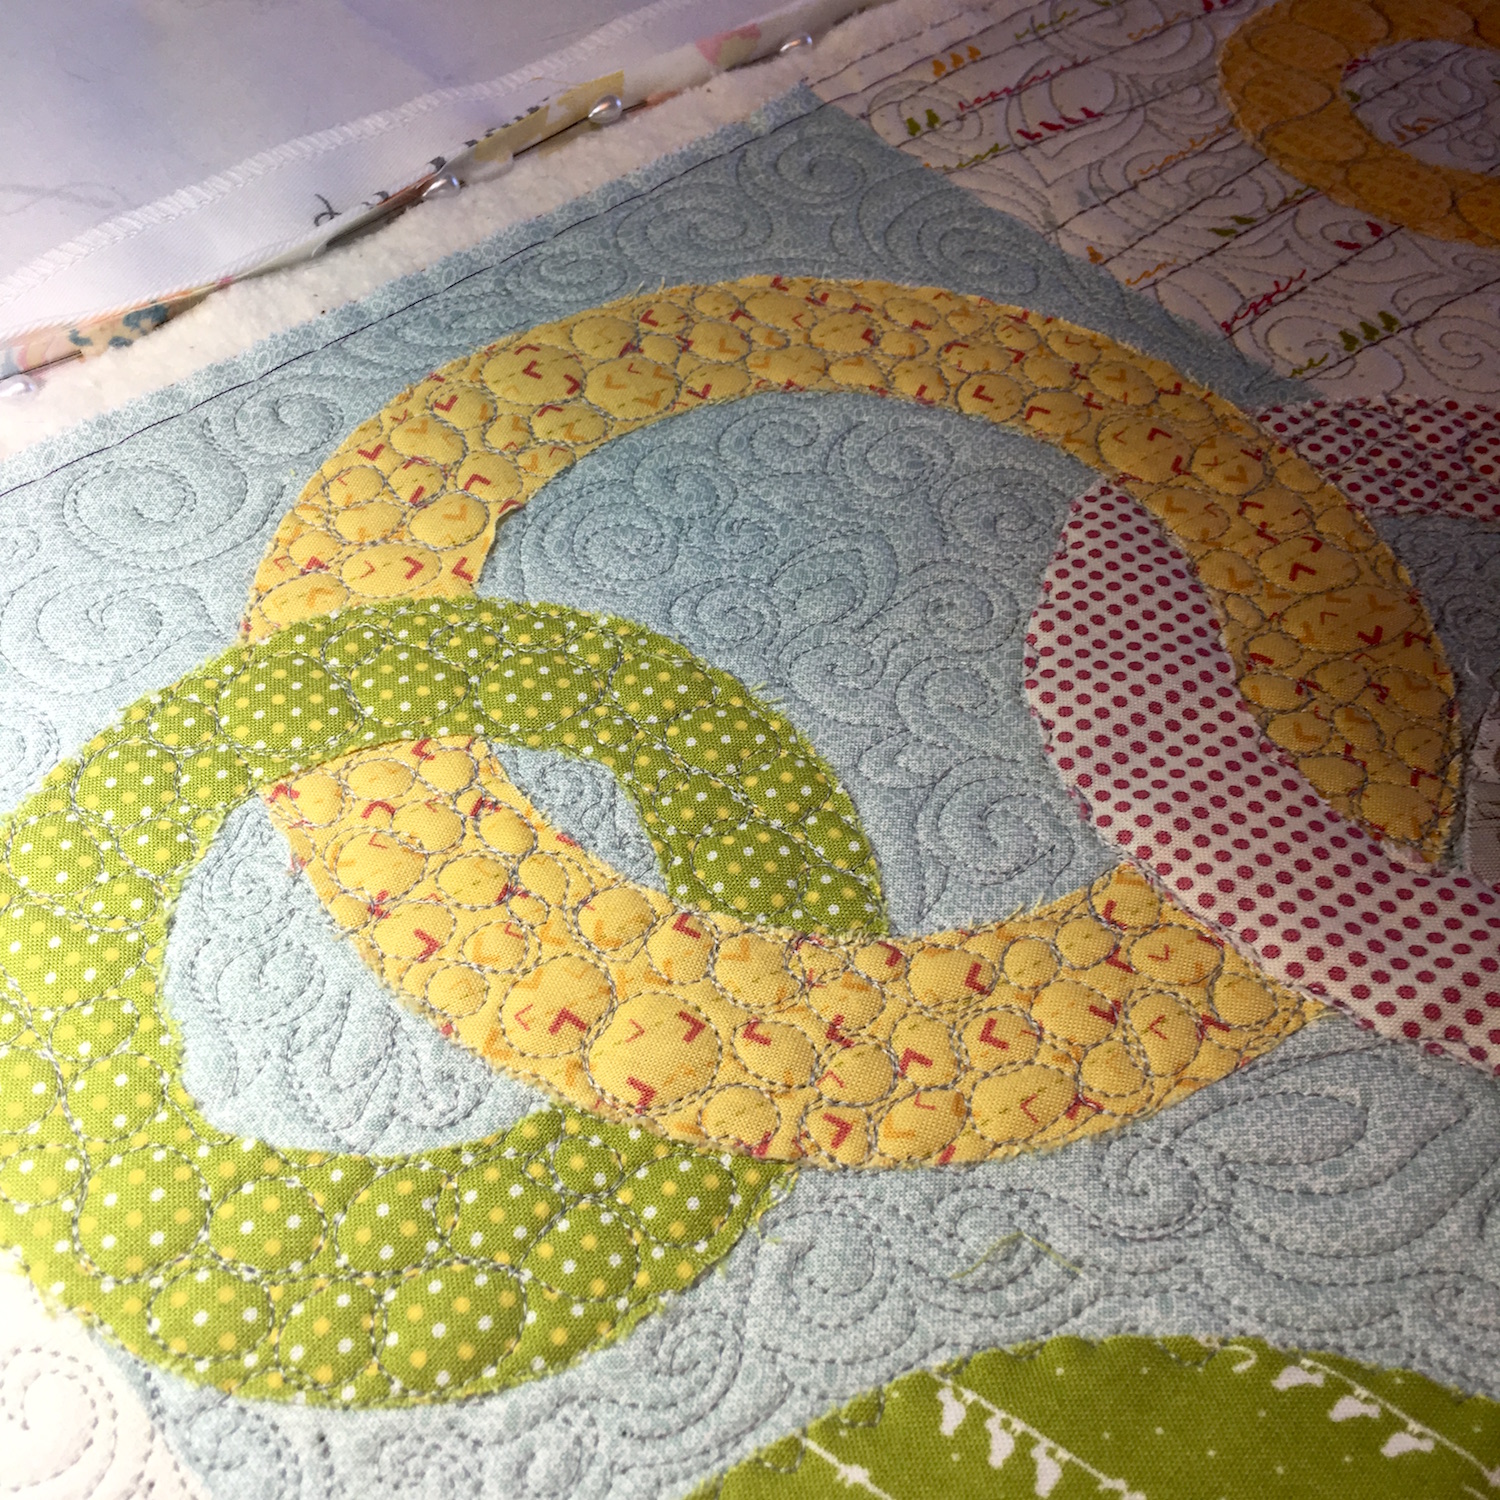
From there, how to quilt it? Melissa Corry has a video showing how to do some interlocking circles as an all-over design, and it looks great on her quilt. I practiced the circles for a bit, and I just didn’t like how mine were turning out. I was also worried about getting enough stitching around the edges of the rings so they wouldn’t go anywhere. I settled on wavy lines around the edges of the rings, pebbles on the inside of the rings, and then swirls with a few leaves as a background filler.
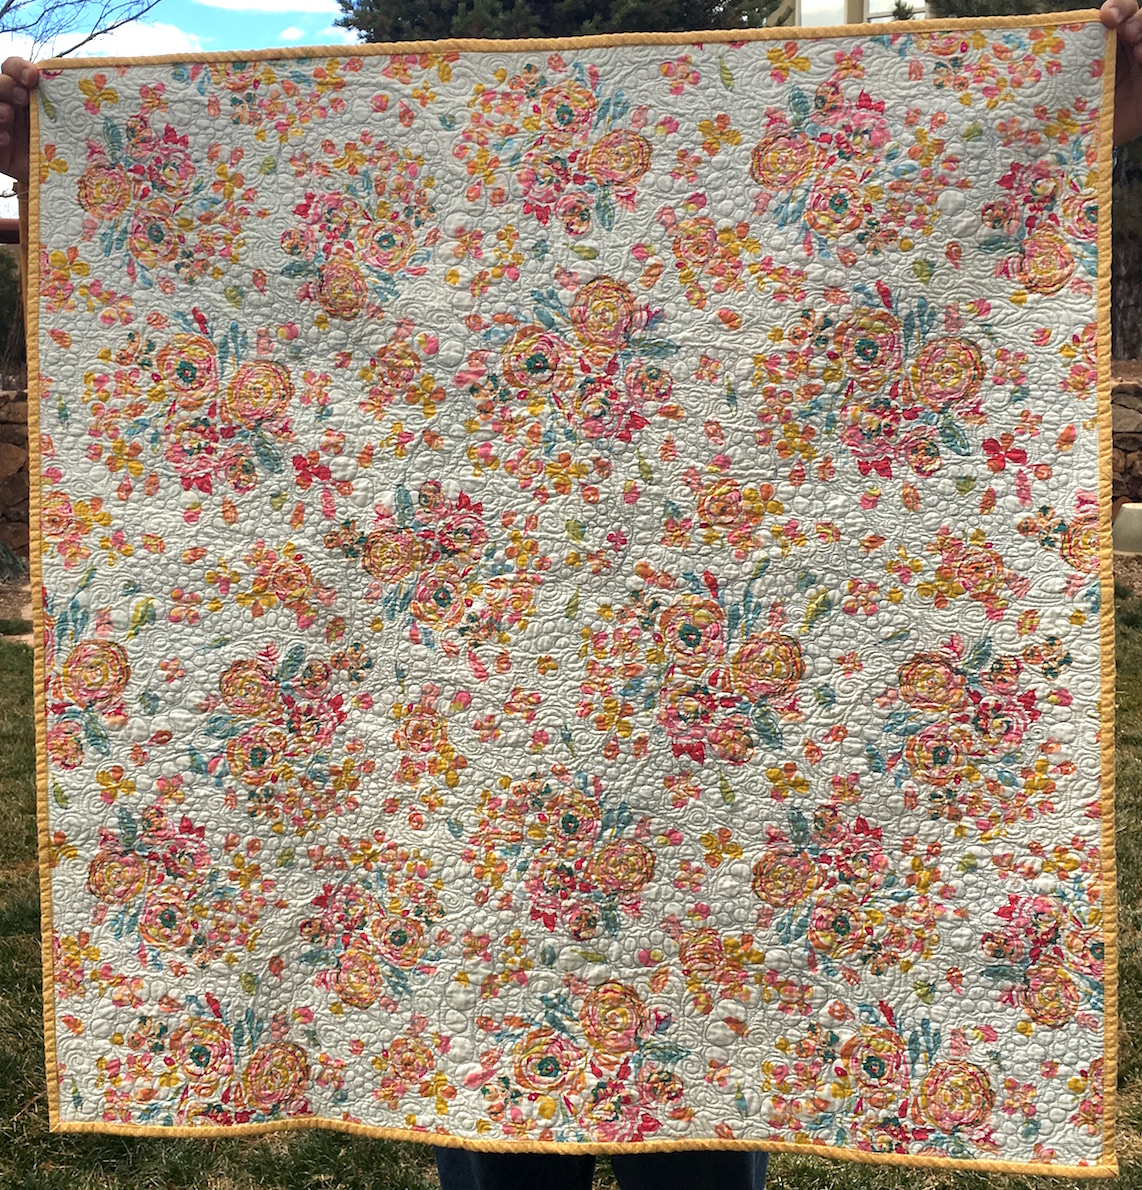
I used Warm and Natural batting, and Isacord #0142 thread, a lightish gray. I found a really pretty backing fabric that has the same colors as the rings:
Here are some photos of the quilting in progress:
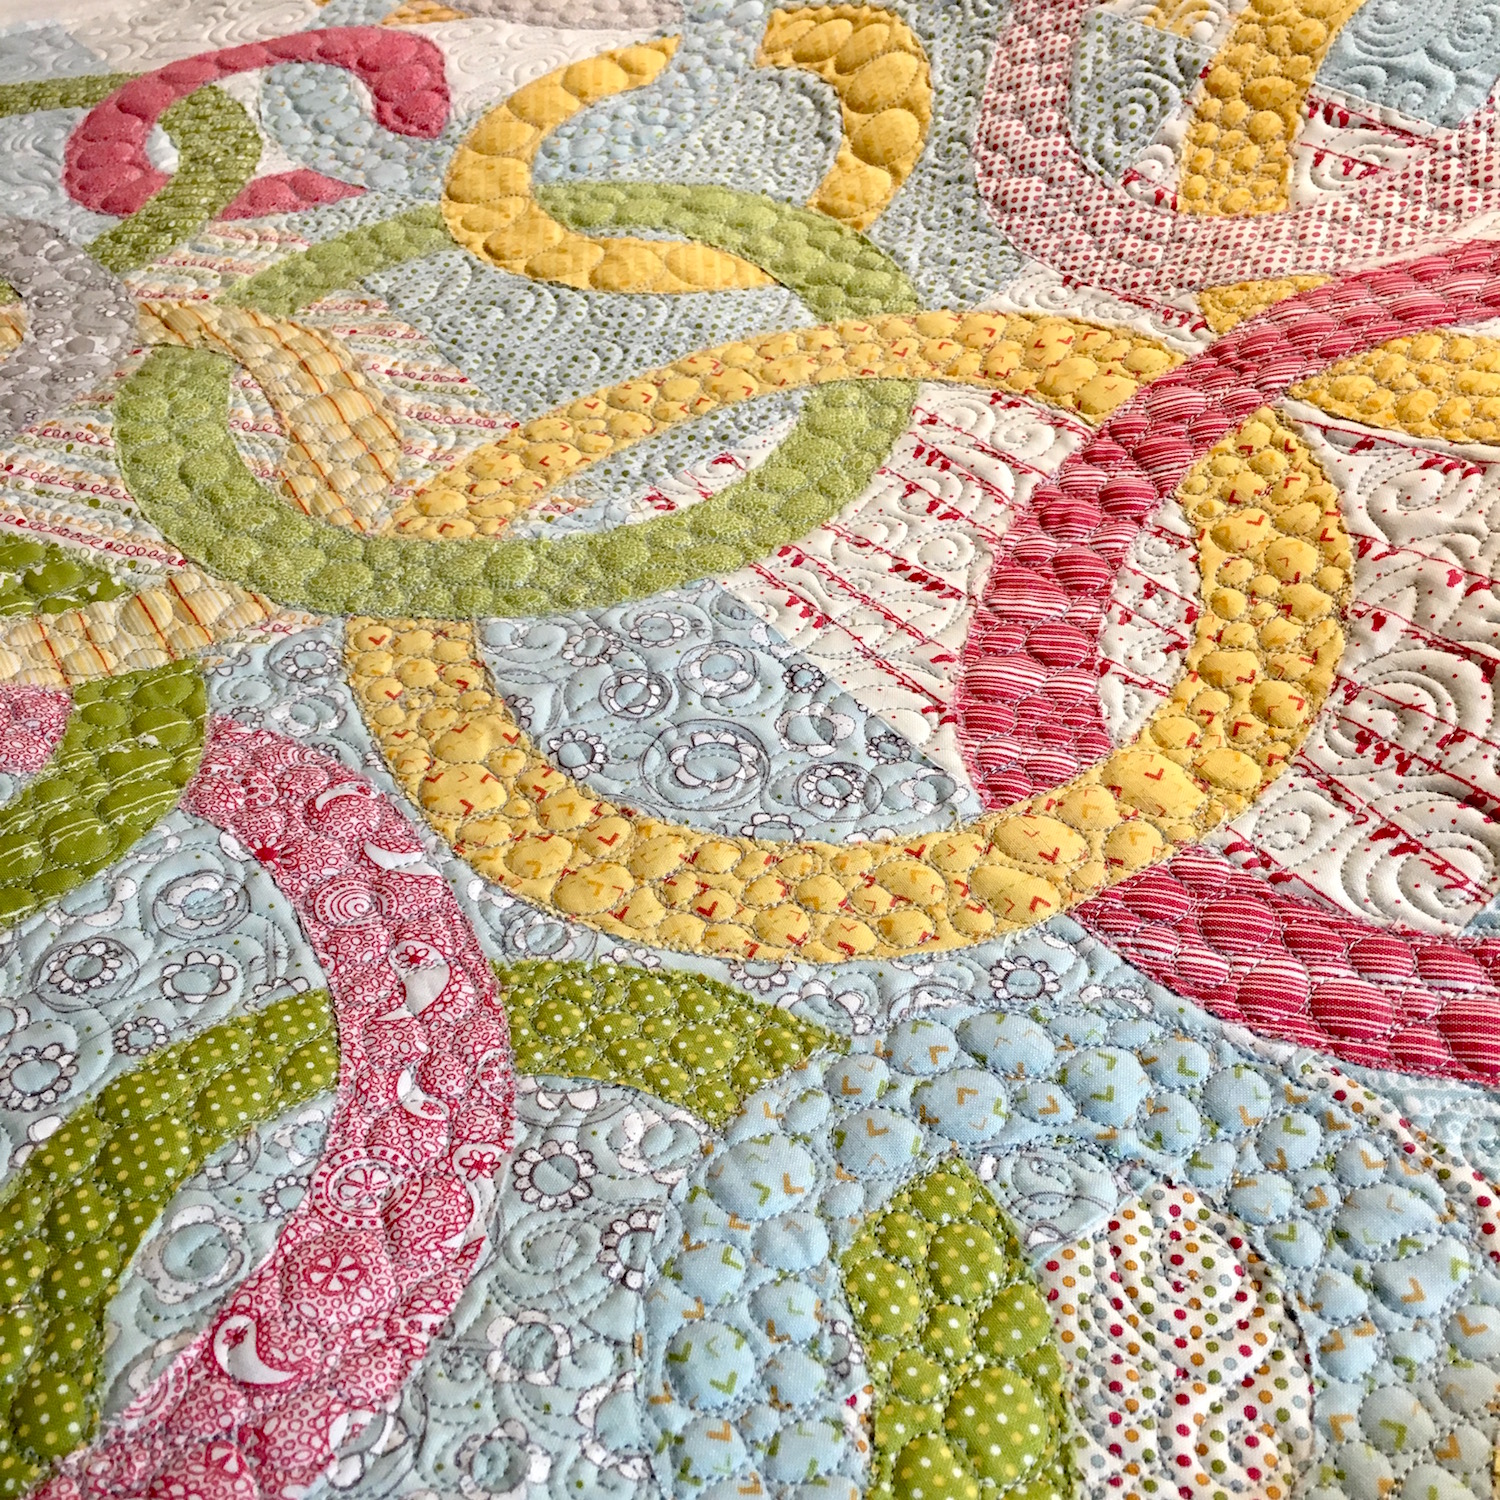
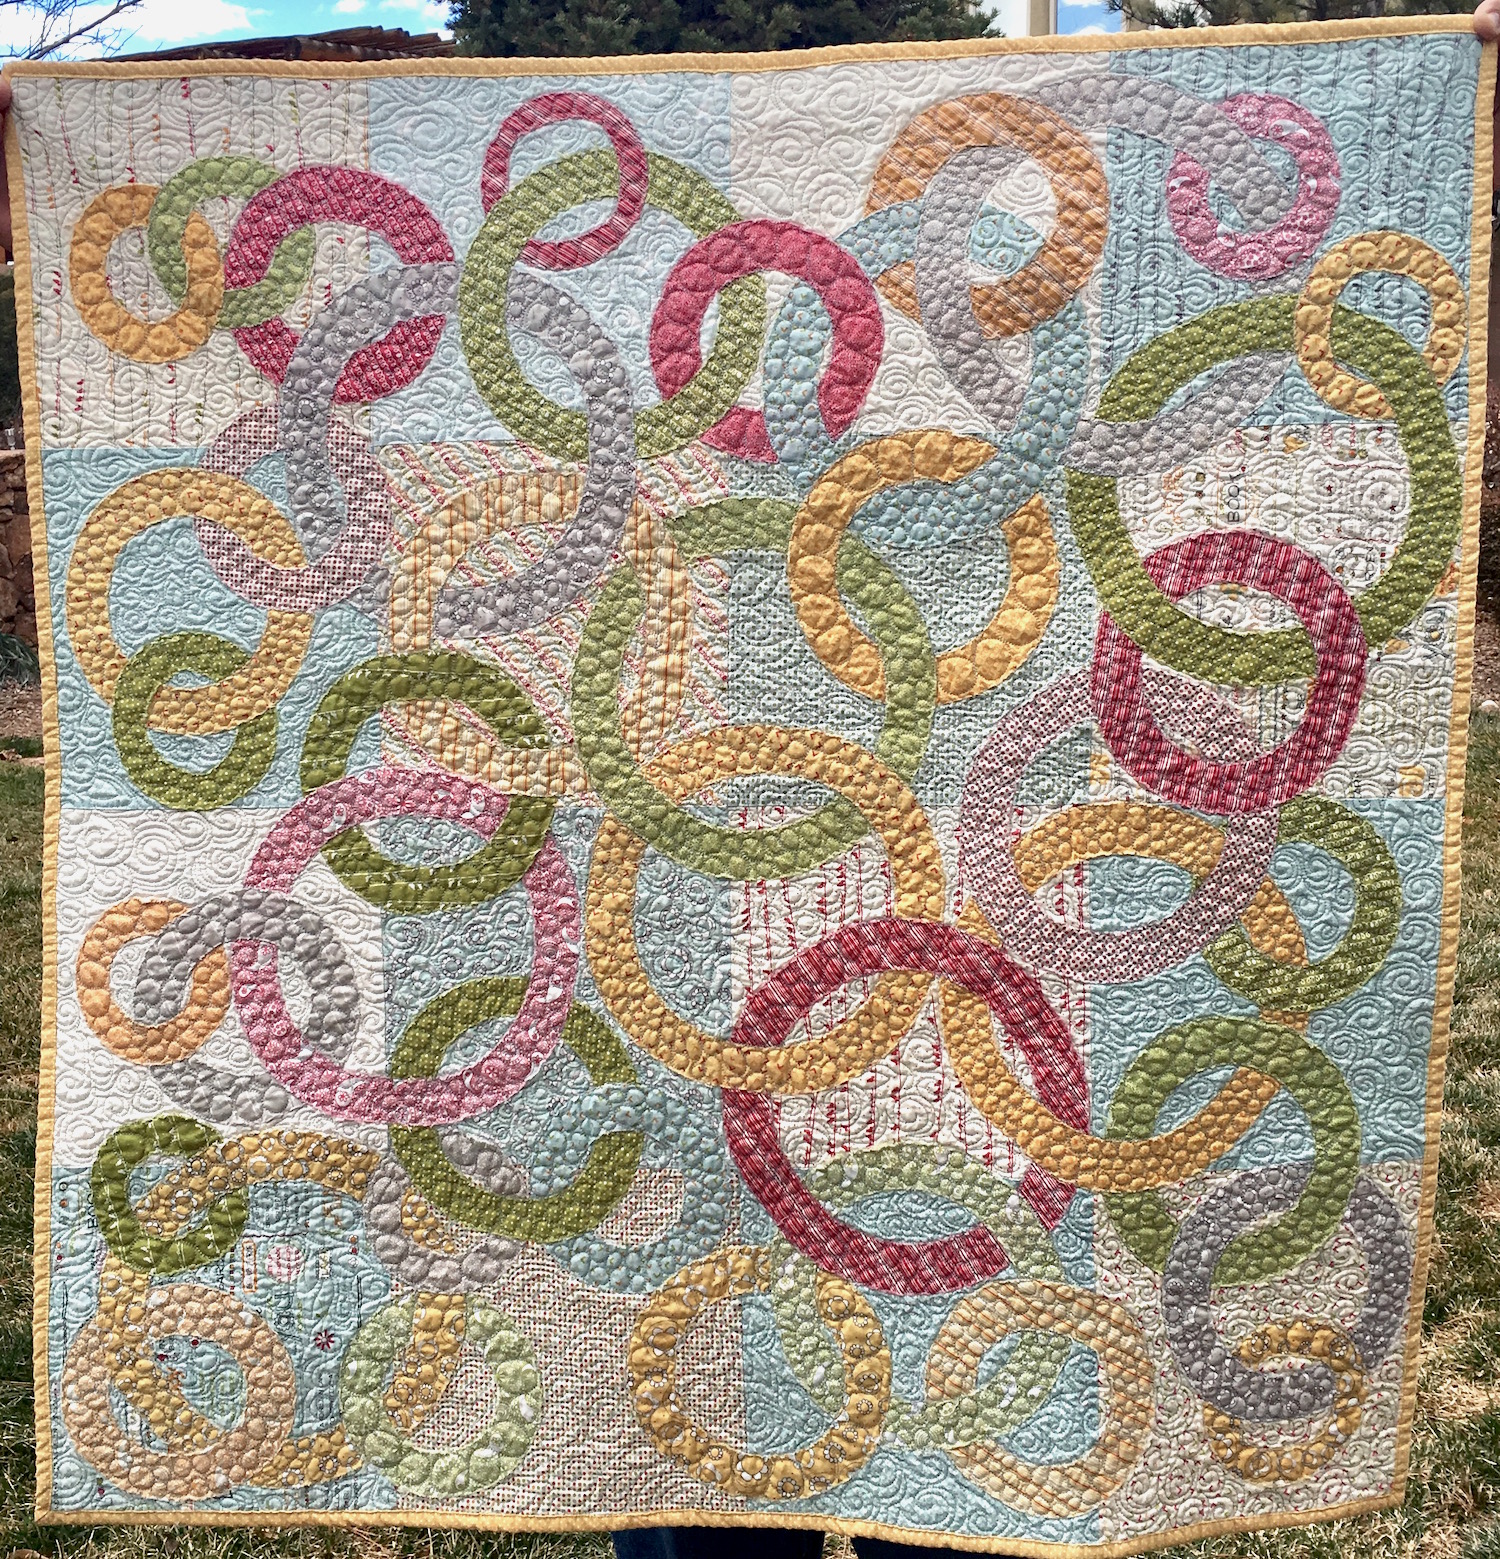
And a few of the finished quilt. I machine bound it with a yellow polka dot fabric:
and the back:
I like how it came out, and I really like the quilting. I did have problems with the edges of the rings fraying quite a bit, so I don’t love that, but I guess that is the downside to a construction process that was really quick. I’d have to think about using another method if I do something like this again.
 This quilt was on my Q1’17 FAL list, so I’ll be linking it up when the time comes.
It looks great. I understand your concern with raw edge applique, but I do know people who use it all the time on kids quilts so it must hold up reasonably well.
Stunning quilting! Well done on your q1 finish! Jxo
Love the soft colors and the rings design. Thanks for the explanation on how you did that (I would still be trying to figure it out! lol Great finish!!