I don’t exactly remember how I first discovered Christa Watson’s blog, but I have been a subscriber for a few years. I have really enjoyed following her journey as she built her quilting business, and have learned a great deal from her along the way.
In September, 2015 she published her first book, Machine Quilting with Style: From Walking-foot Wonders to Free-motion Favorites, and it is a good one. One of my goals is to improve my machine quilting, so between my Christa fan-girl status and my quilting goal this book was a must have!
At the beginning of 2016 Christa kicked off a quilt-a-long for one of the quilts in the book, called Facets. I have never done a quilt along, never done improv piecing, and liked the quilt, so it seemed like a good project. I really don’t take quilt classes, and tend to look at things to decide what I like and create my own quilts from those ideas rather than following patterns, but I was really pleasantly surprised by how much I enjoyed the process. I learned a lot from Christa and from the others in the group. So much inspiration!
I had a piece of Sweetwater Elementary Fabric with all these equations and math on it that I loved, but just couldn’t find the right use for. After seeing Kristy Daum’s version during Christa’s blog hop, I knew I’d found a home for my fabric. With that, I went off and bought a jellyroll of the Julie of Jaybird Quilts palette of Kona solids to use for the improv triangles. I love blues and greens, and this palette is just awesome.
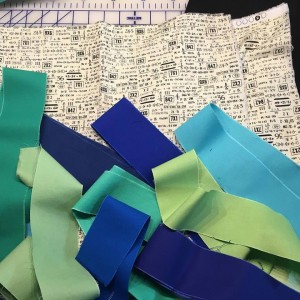
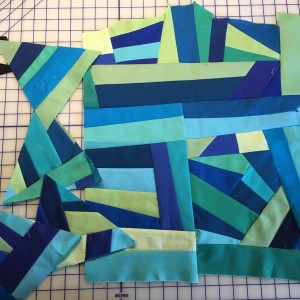
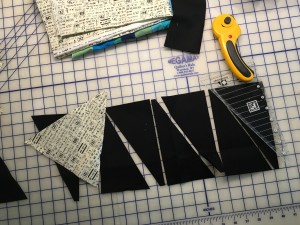
Step one was to do the improv piecing for the triangles. I found this process daunting. In retrospect, I cut the jellyroll strips at too much of an angle, which made putting the strips together a bit more difficult than it needed to be. I do really like how the improv triangles came out, but I would do it differently the next time and I was glad I only had to do enough for one strip!
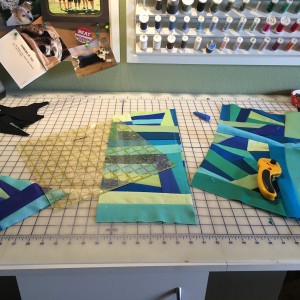
The next step was to cut the triangles from the Elementary fabric and to cut out the black triangles. In her book Christa recommended two triangle rulers to create these pieces, and I’m so glad I bought them. Previously, I only had straight rulers and didn’t see the point of specialty rulers, but these were really nice and really helpful. Good adds to my toolbox!
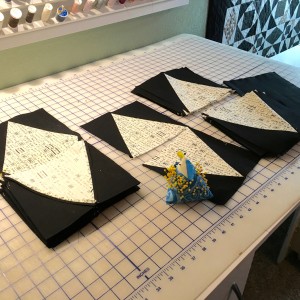
After that, it was lots of block assembly! My chicken pin cushion was very helpful with this step.
I made good progress, but soon ran out of the Elementary fabric. I thought about making a smaller quilt, but decided if I could find more fabric I’d make the full quilt.
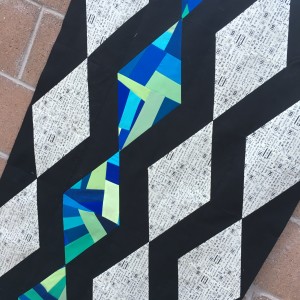
This photo is the partial top before I got enough fabric to finish the whole thing. It shows a good close-up of the facets blocks.
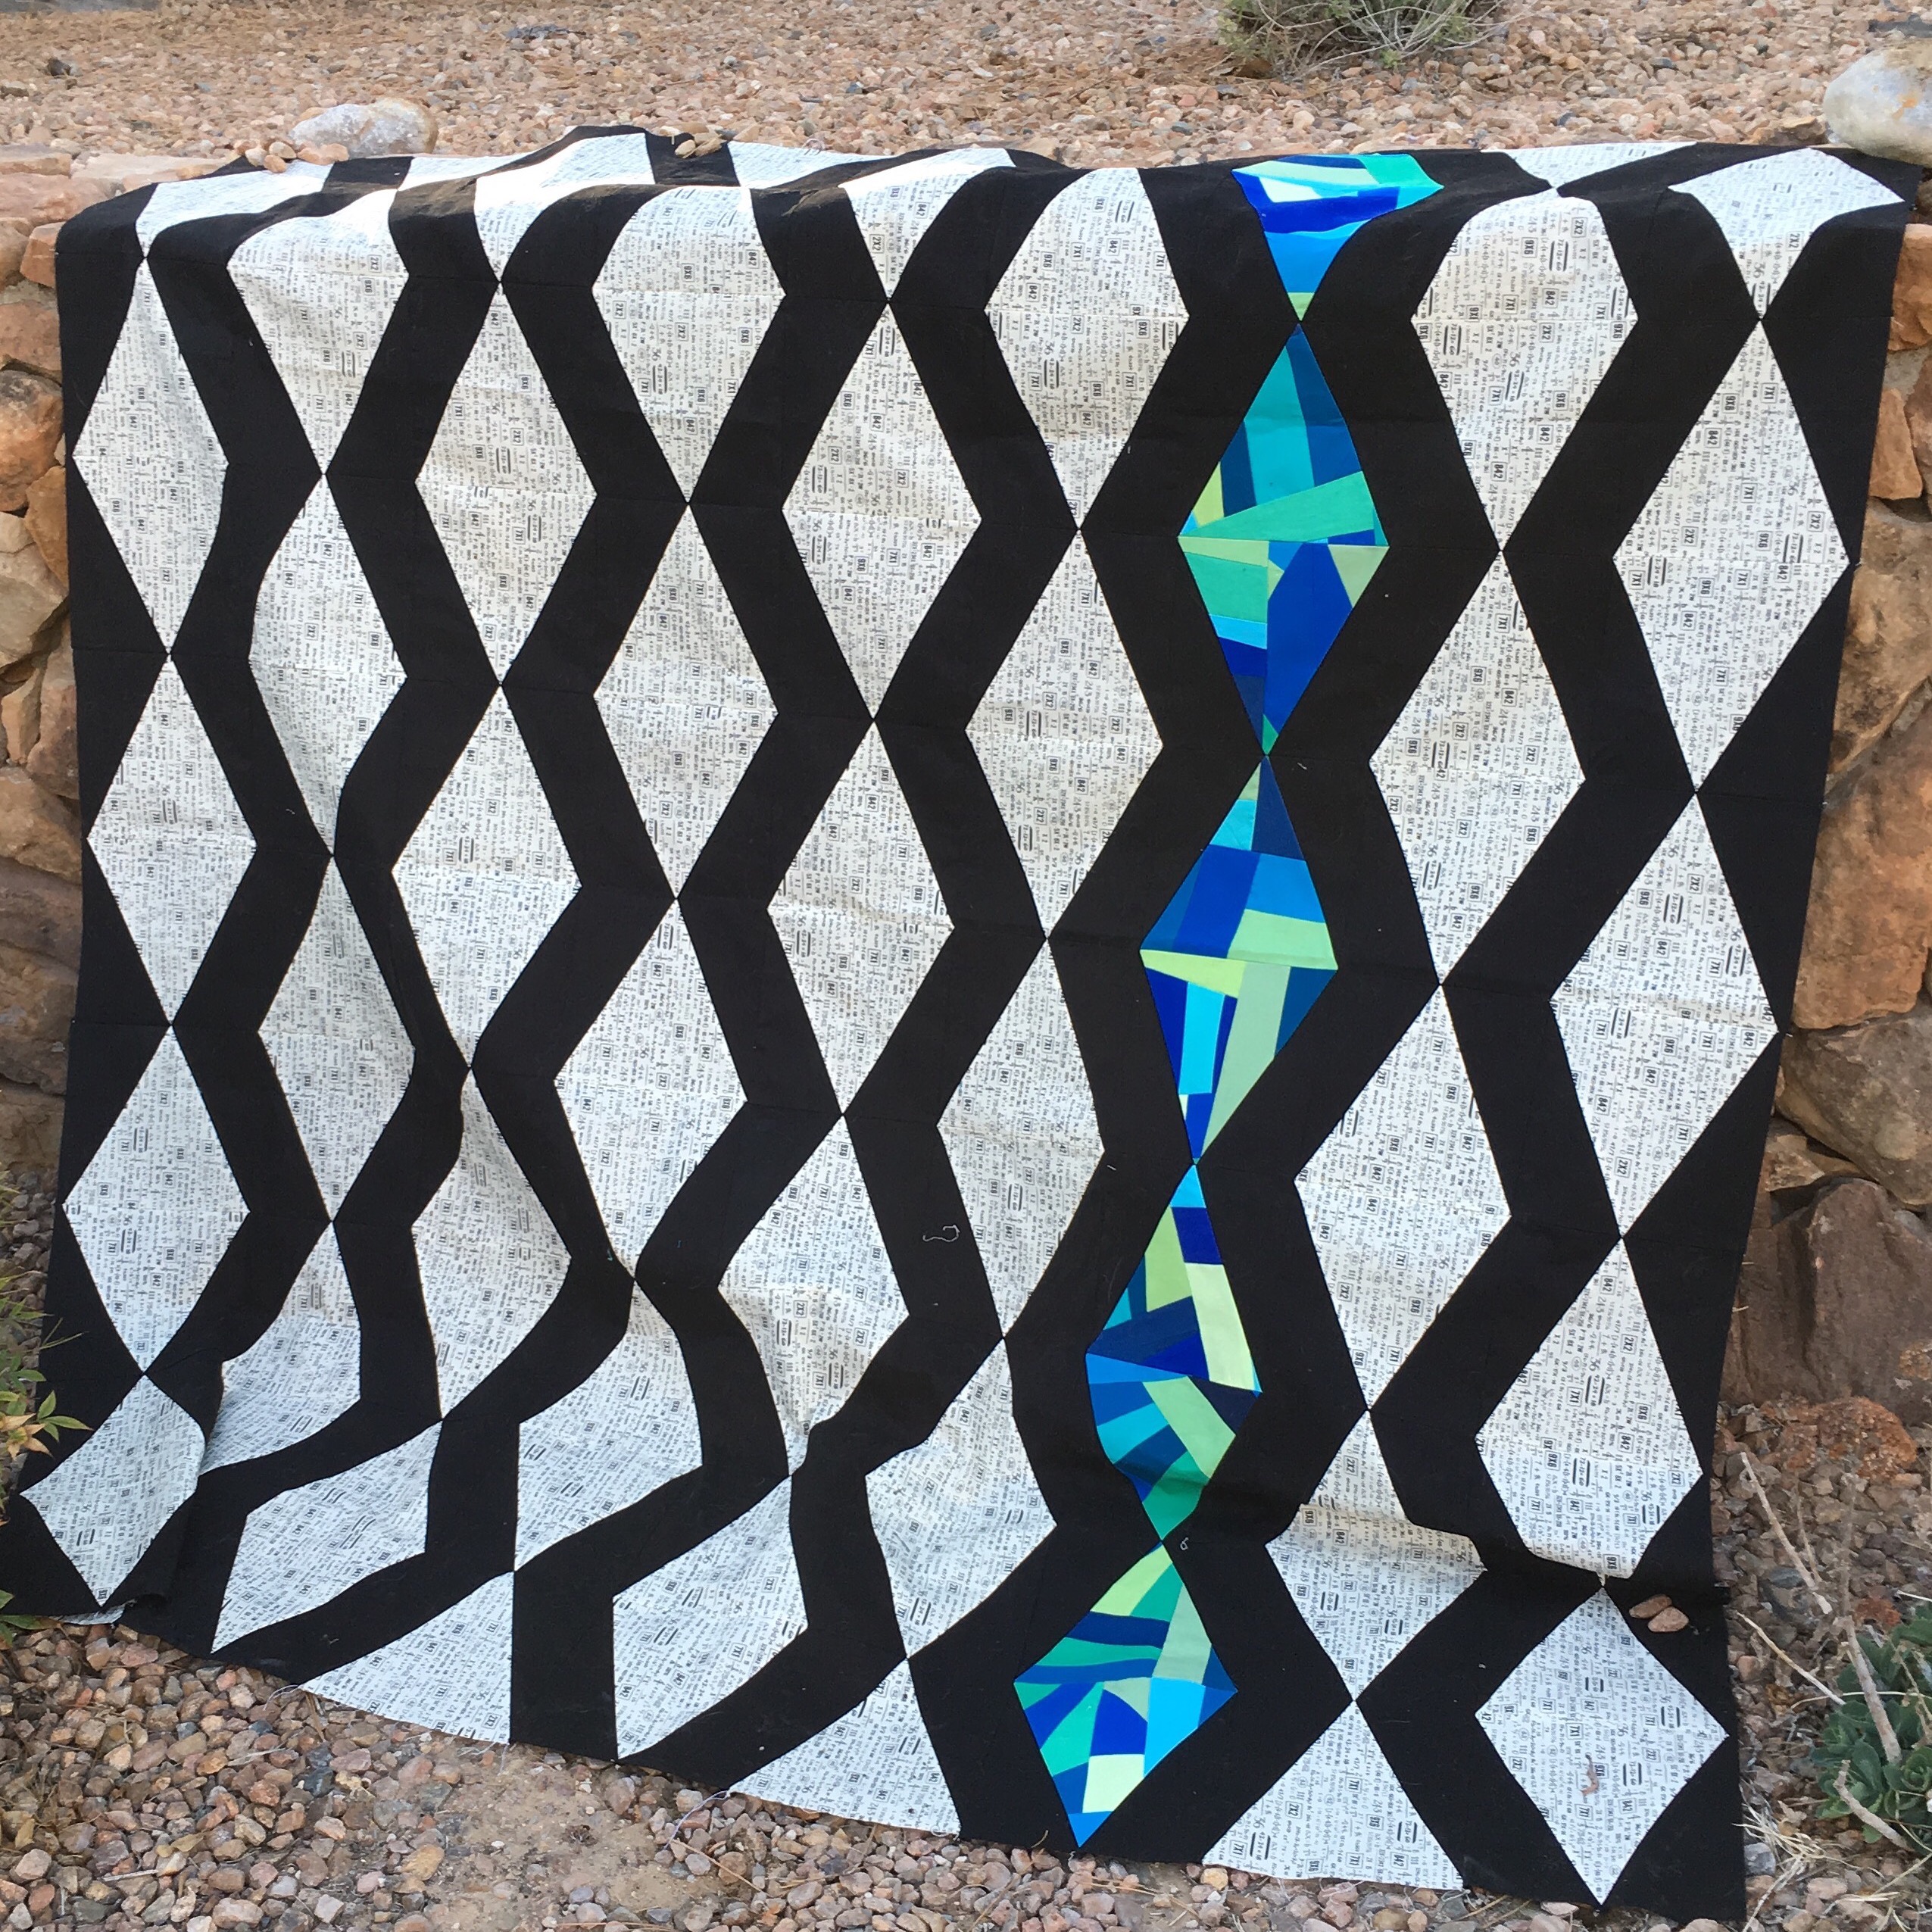
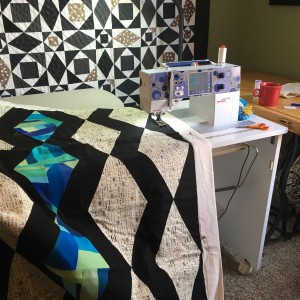
This is the finished quilt top – taken between gusts on a very windy New Mexico spring day!

And now to quilt it. It is big! I haven’t quilted anything this large in a long time. It will take me some time, but I think it will be cool when it is done. More coming later as I get it done!
I just love the improve triangles! And those colours are just gorgeous!
Thanks! I love blues and greens. I’m looking forward to using the blue thread to finish off the quilting. I might also try and use the left over blues and greens from the improv piecing for a scrapping binding…