
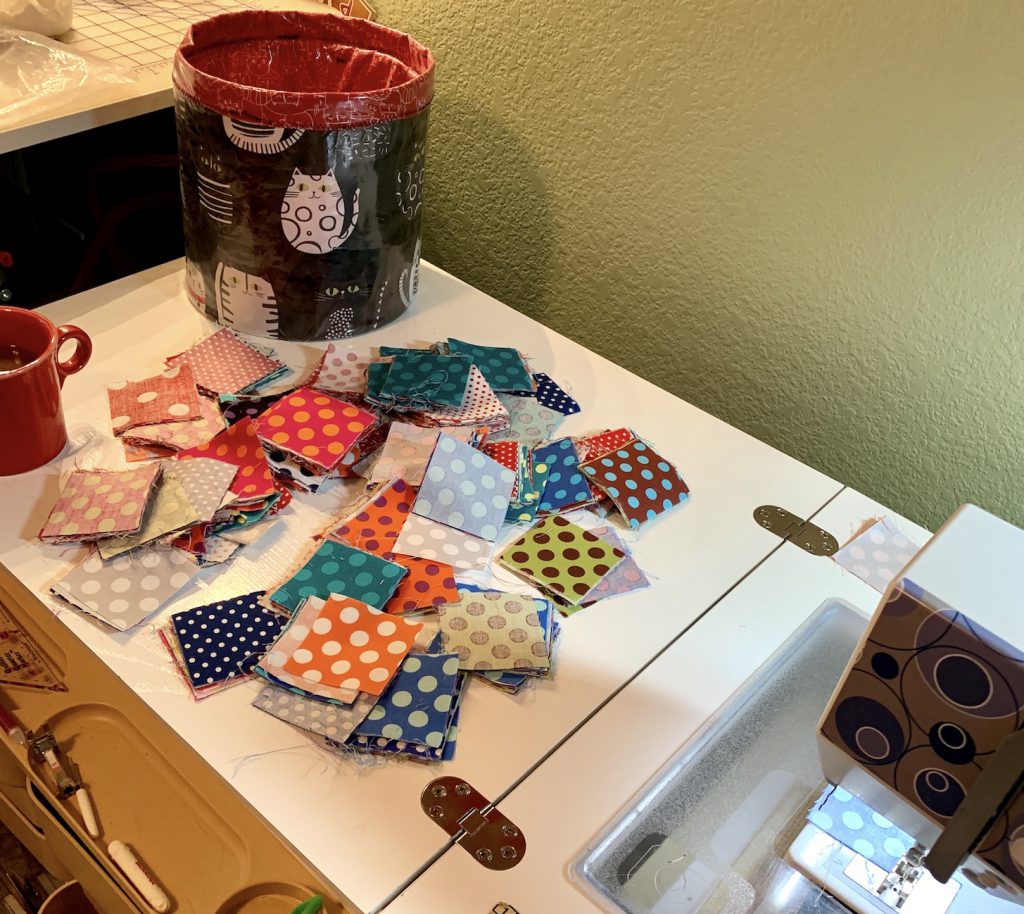
I’m a sucker for polka dots. I just love them. When I saw this jelly roll of polka dots somehow it just wound up coming home with me.
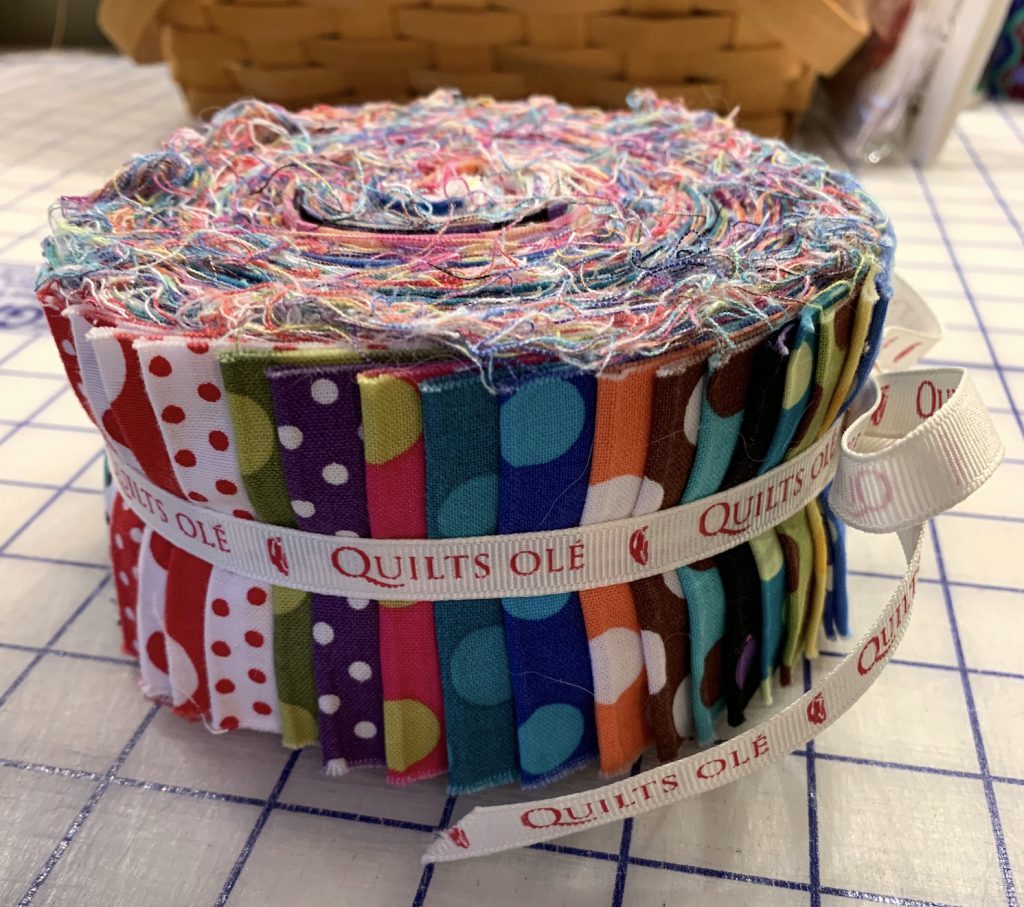
I’ve had that jelly roll for awhile now, trying to figure out what to do with it. Last year when I took a class from Bill Kerr of Modern Quilt Studio I saw this book and snatched it up, thinking it was the perfect solution to my jelly roll problem.
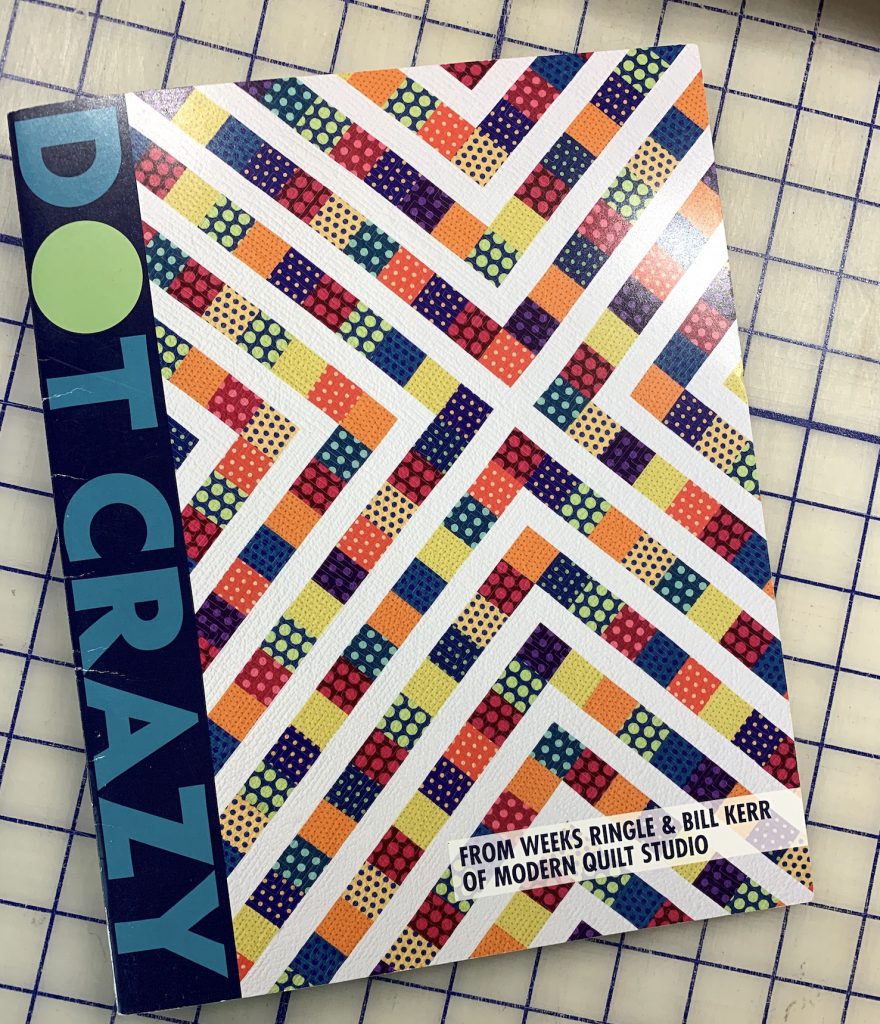
However once I bought the book and looked at the pattern more closely I figured out that this quilt was made with 3.5″ cut squares and not the 2.5″ squares I’d get from using my jelly roll. That’s ok, I thought, I’ll just figure out how to do it with smaller squares. How hard can it be??
Well kind of a project, as it turns out. I had to change both the polka dot parts from 3.5″ cut to 2.5″, as well as change the white part from 2″ cut to 1.5″ to keep a nice difference between the two sections. The construction method on this quilt is interesting too – it’s done on a diagonal rather than horizontally/vertically, so it is not easy to just draw up.
My first attempt was using graph paper. I wound up having to tape a bunch of pieces together to make it big enough. If you look closely you might note the use of the Pythagorean Theorem on this page – I was trying to figure out how large this thing was going to be. Math in the wild!
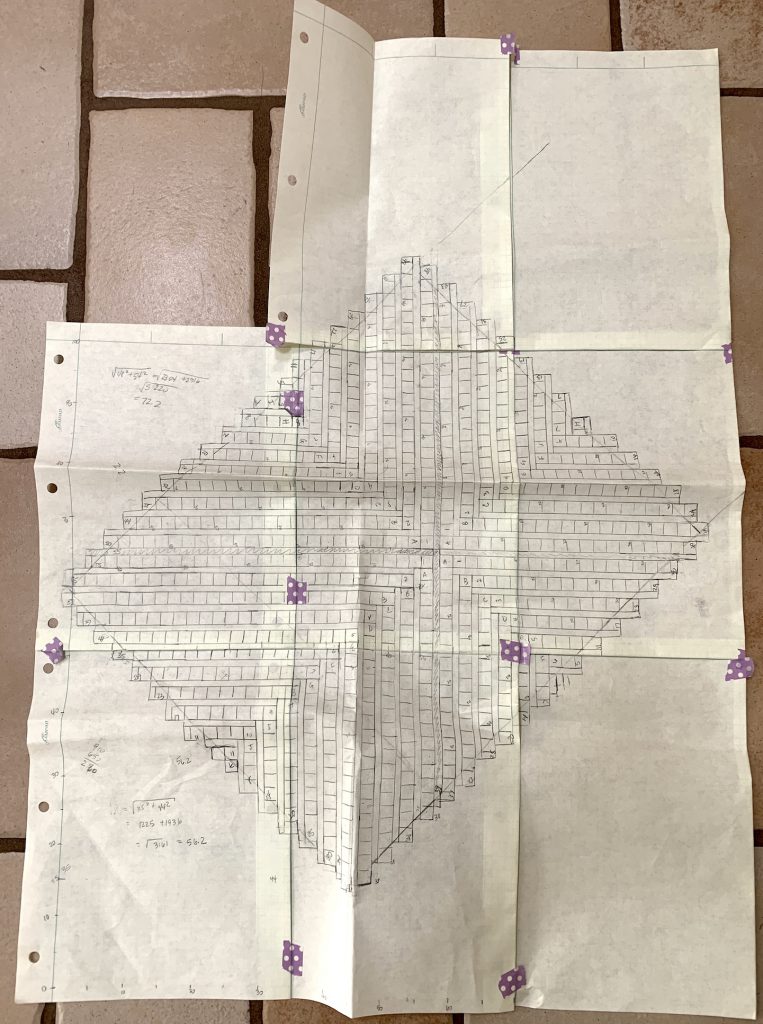
Once I got it all drawn up I figured out – very manually I might add – that this design would use only about 2/3s of the polka dot squares I had already cut up from the jelly roll. That seemed like a waste, so I wanted to resize the design. Redrawing this thing seemed like a really large task, so I started looking for computerized options. I tried EQ8, but it will only let you do a maximum 24×24 square grid which was WAY too small. I use Excel a lot in my day job, so as I thought about ways of making a grid on a computer Excel came to mind. I resized the rows and columns to equal pixel sizes to make my grid and started drawing.
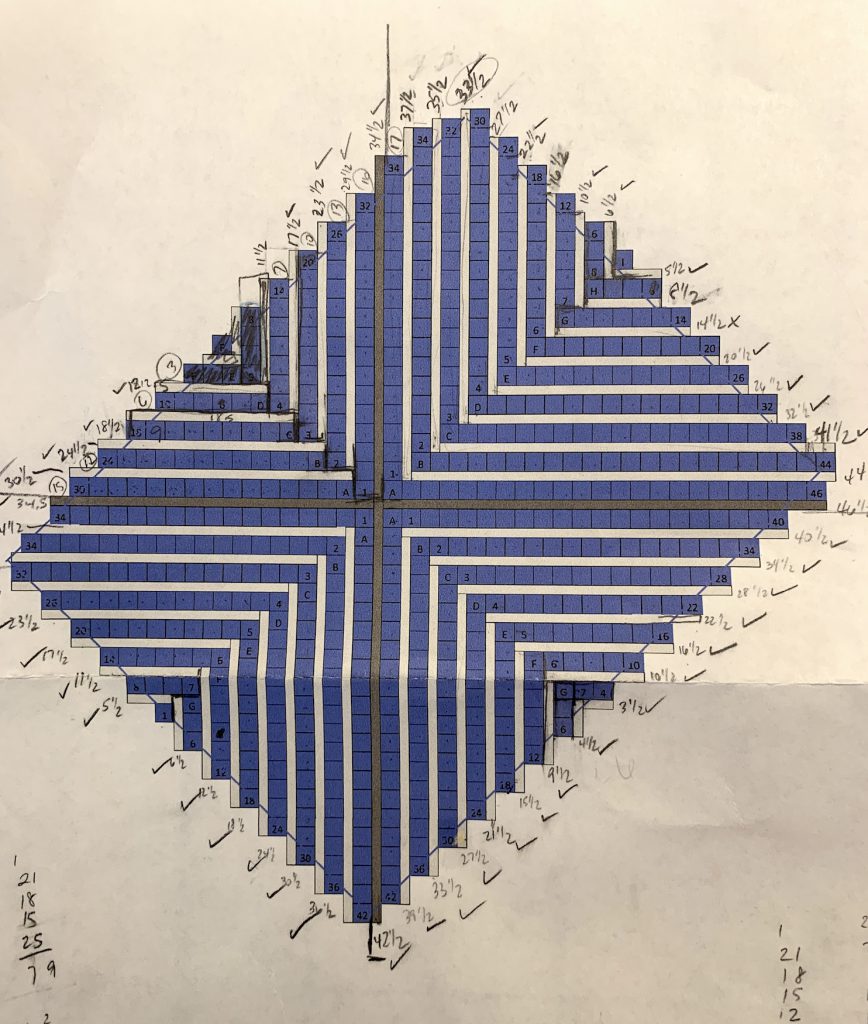
I wound up making several versions, working out different sizes. It was still pretty labor intensive but much easier than drawing it by hand. This technique was a good discovery and I’ll be using it again in the future.
From there it was a lot of piecing. The piecing wasn’t hard and there aren’t many seams to line up, but the smaller squares and strips made for more sections.
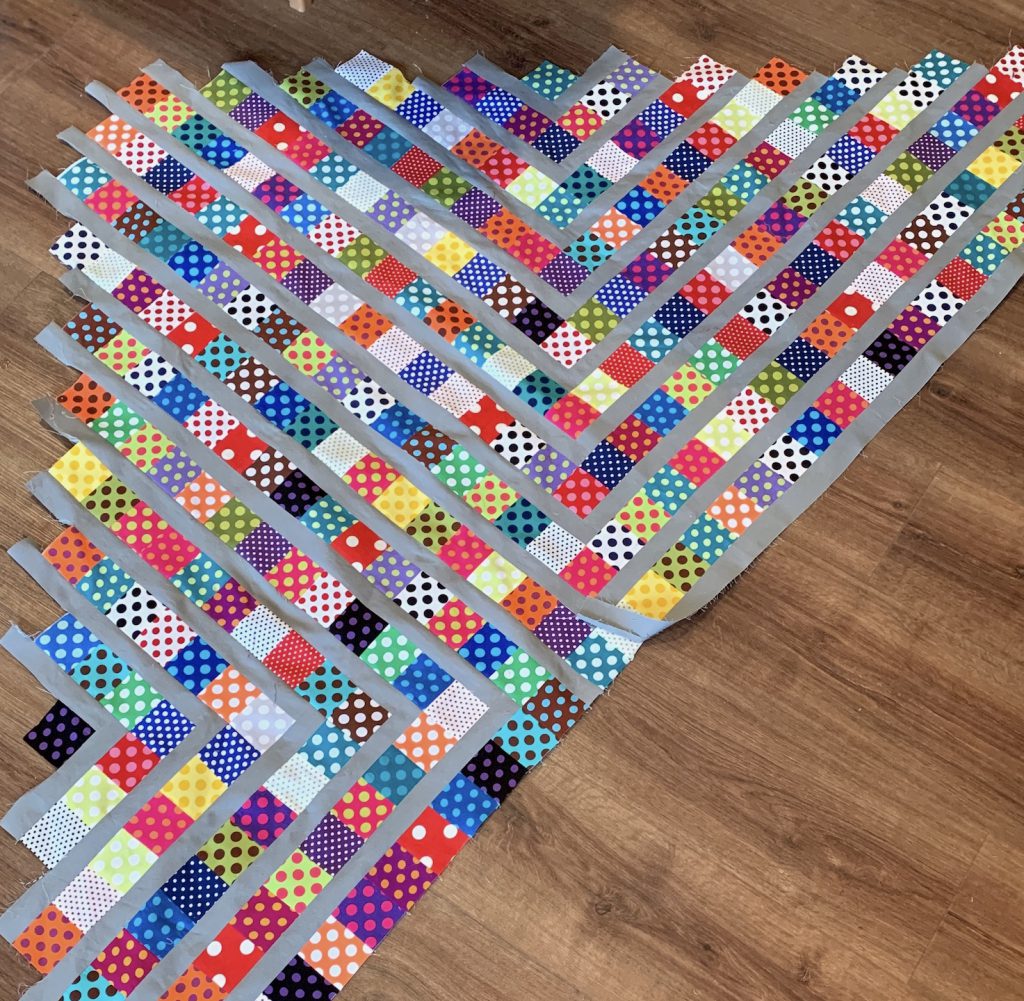
Here it is partially pieced. This was two of the four sections. As I said, the construction technique is interesting – it is kind of like a two sided log cabin. Also, as my polka dot fabrics had white in them I used a grey (actually RJR Silver) rather than white to make sure I kept a good definition between the strip sections.
And then the final top assembled:
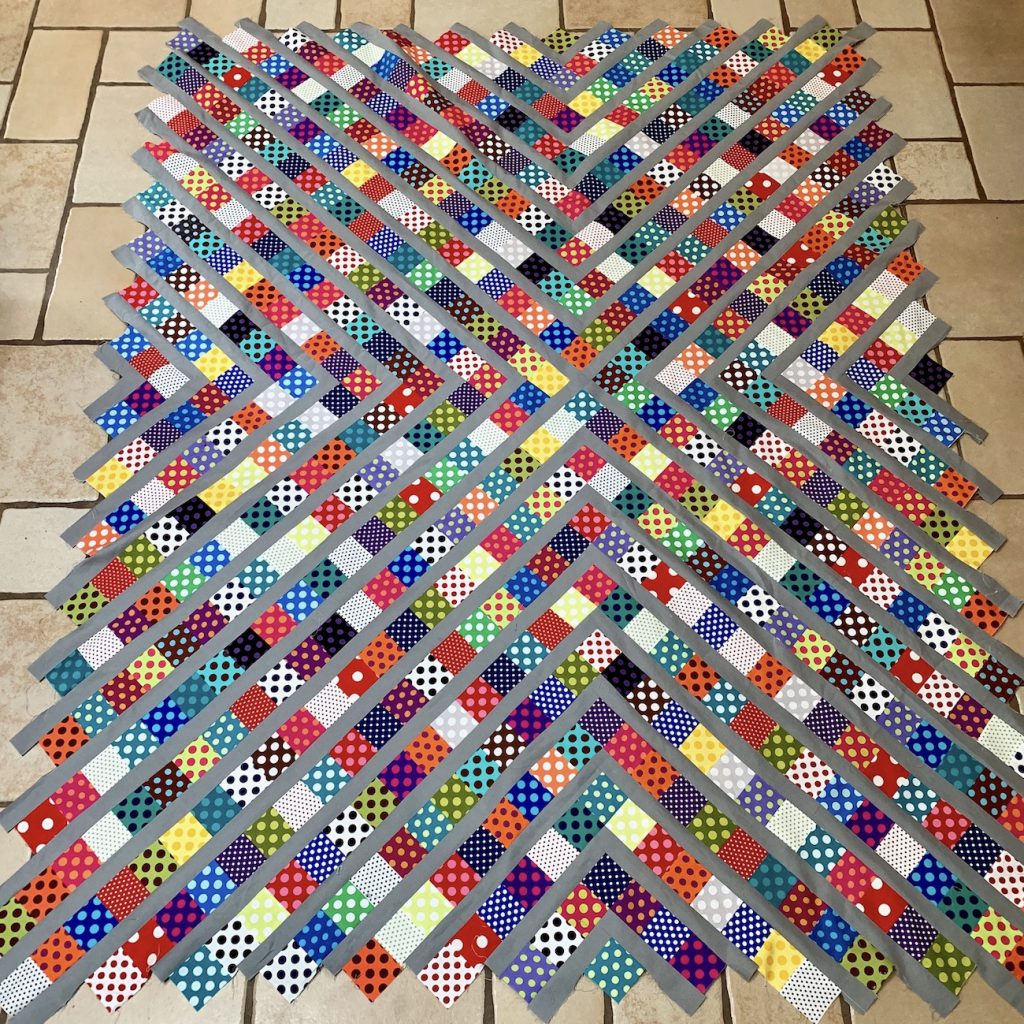
It was a lot of work, but it came out great and I learned some useful new techniques that I will use again.
Now on to quilting! This guy is on my Q2’19 FAL list, so I better get quilting if I’m going to finish it this month.
Wow! Those dots have a lot of impact! Thanks for walking through your process–very interesting and I’m completely impressed! I really like the gray/silver sashing.