
I am the Queen Bee for my group in February. When the schedule came out in early December, I decided that this year I really wanted to create my own block. I then proceeded to spend nearly 2 months trying to figure out what block to make! I started to play around a bit to find a design I like, and I think I came up with a good one.
I’ve seen several postings on Pinterest showing how to use up scraps, and I always found the projects that put together scraps into long strips using receipt tape cool (like this). I thought I’d start with that idea.
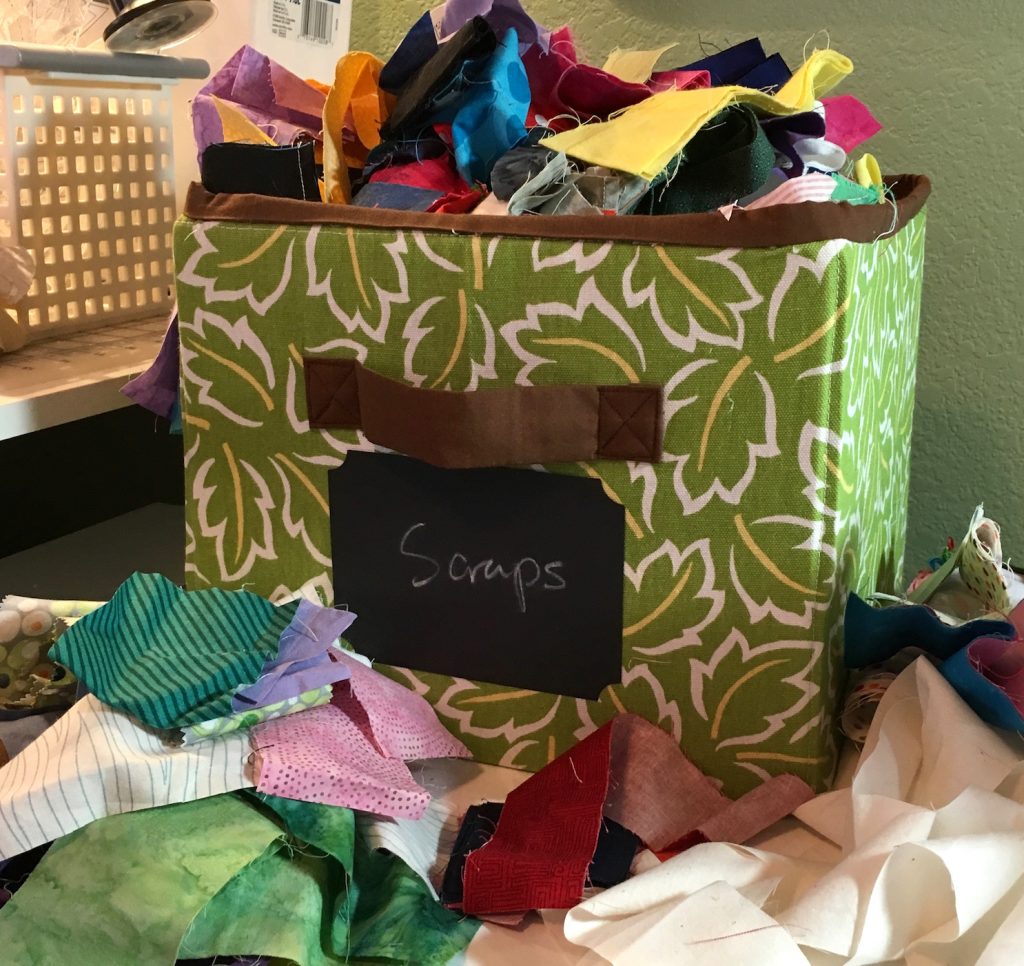
I have a bin I keep above my cutting table for scraps, so I pulled the bin down.
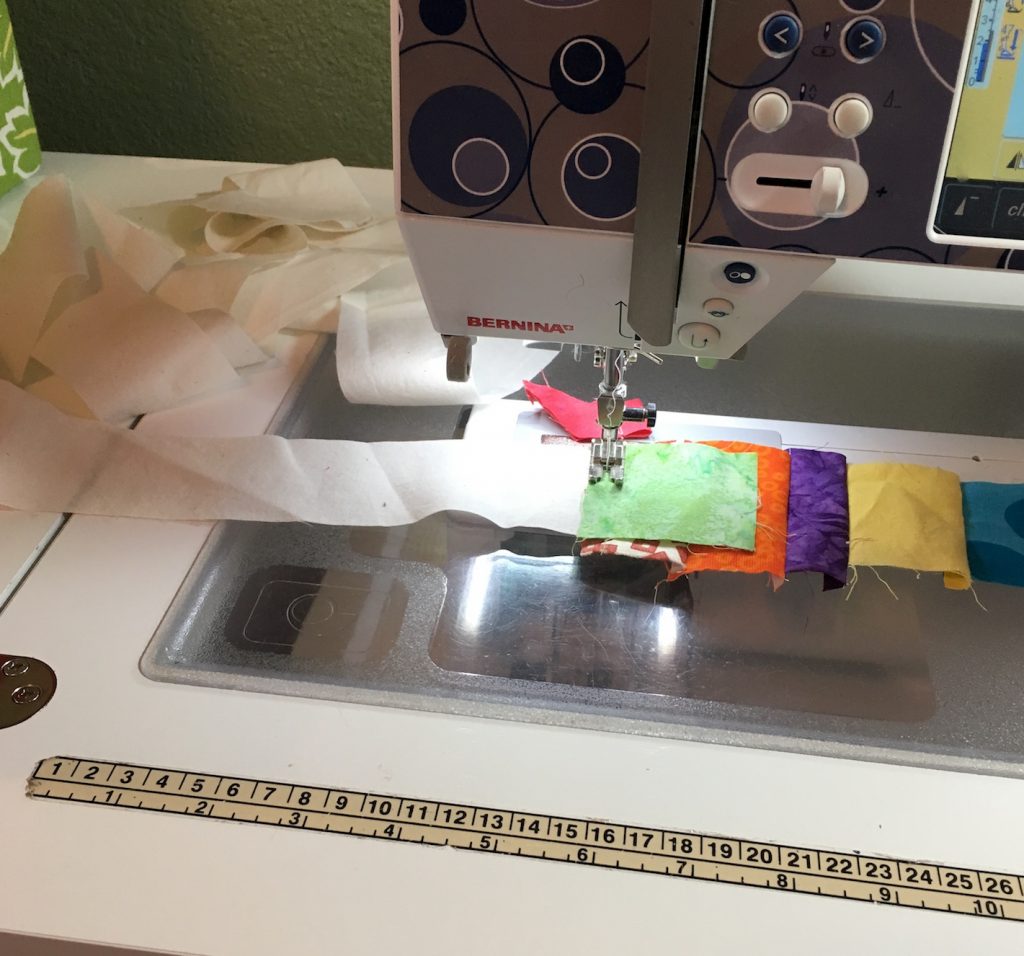
The examples I’ve seen use paper (receipt tape) for the piecing. I didn’t want to have to tear off all of the paper so I used muslin instead.
To do this yourself, begin by cutting the muslin into 2″ strips then string the strips into one long piece. From there, start pulling out scraps. The scraps can be of any size – they just have to be wide enough to cover the 2″ strip. Below you can see my long muslin strip, and my scraps of different sizes covering the muslin.
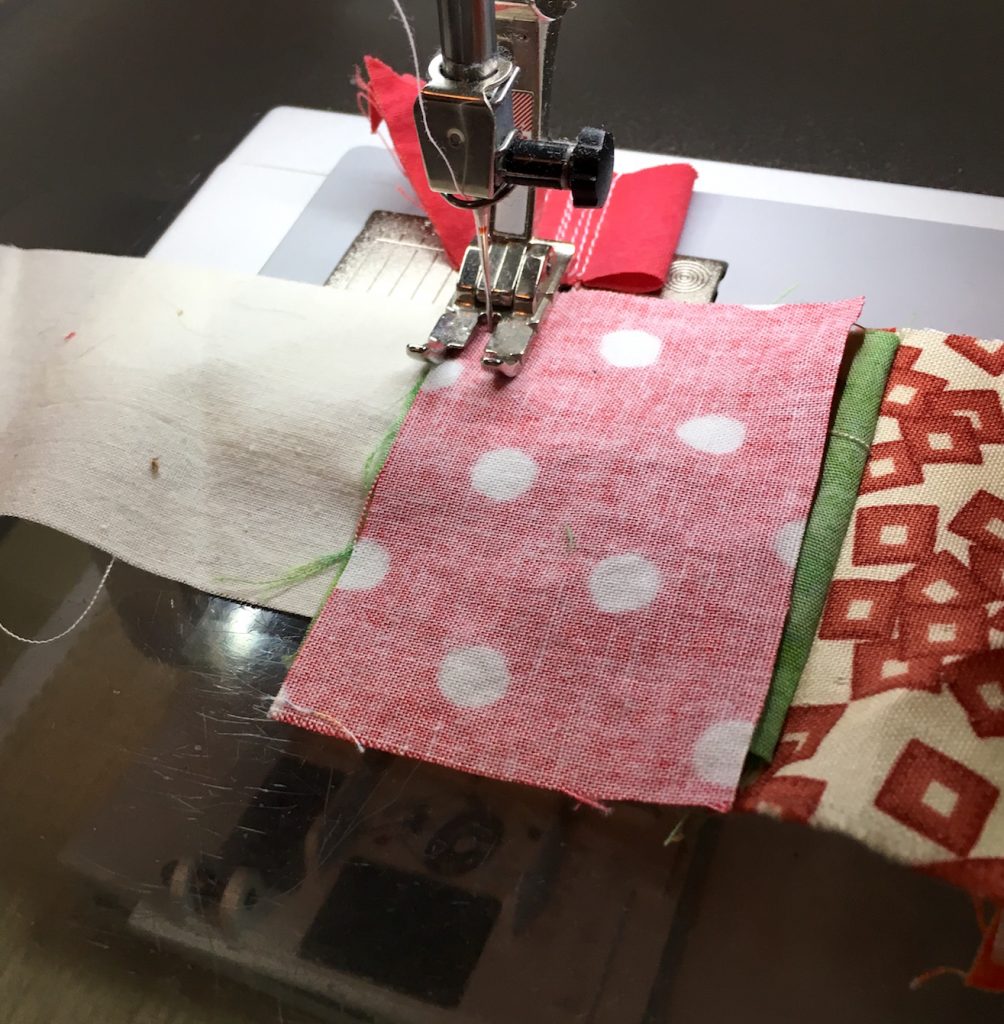
I used a thread catcher – a small piece of fabric at the end of the piecing – rather than having to cut lengths of thread before and after every scrap.
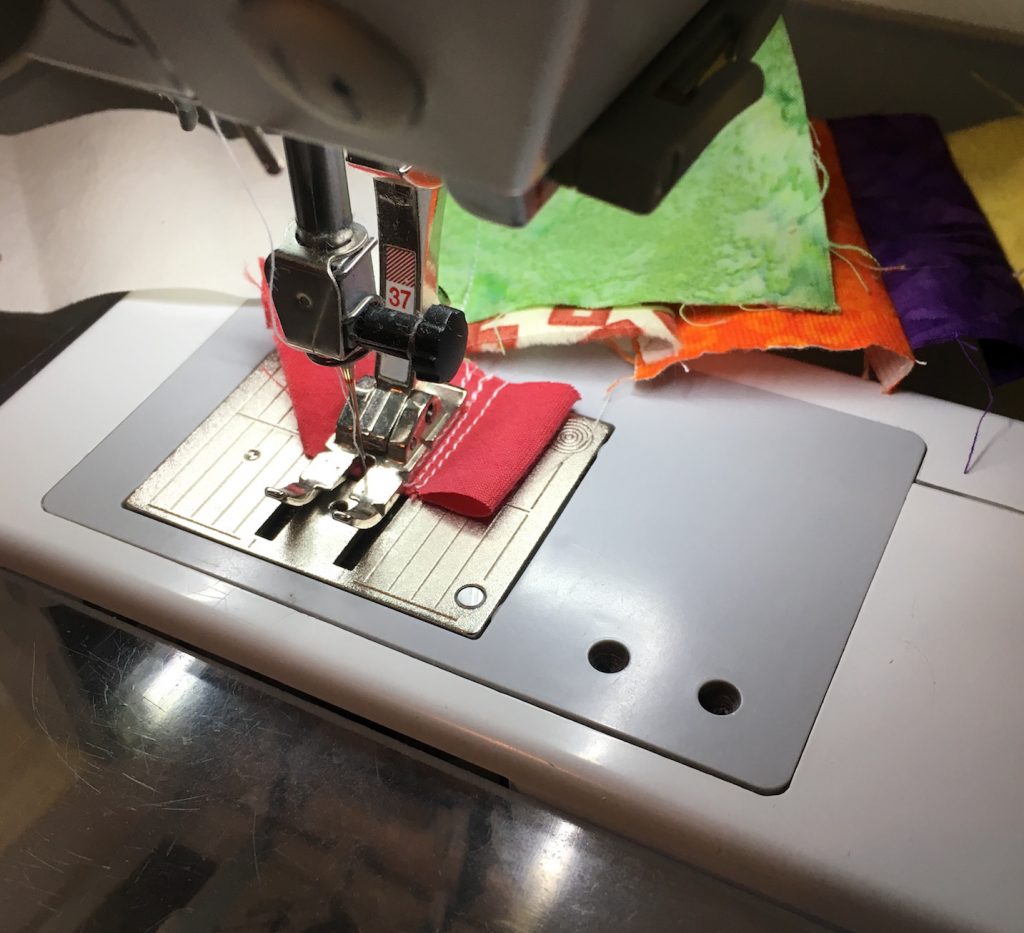
After a scrap is added to the strip, fold it, finger press it back, and pin it down to the muslin. You don’t need to bother to press each scrap as you go.
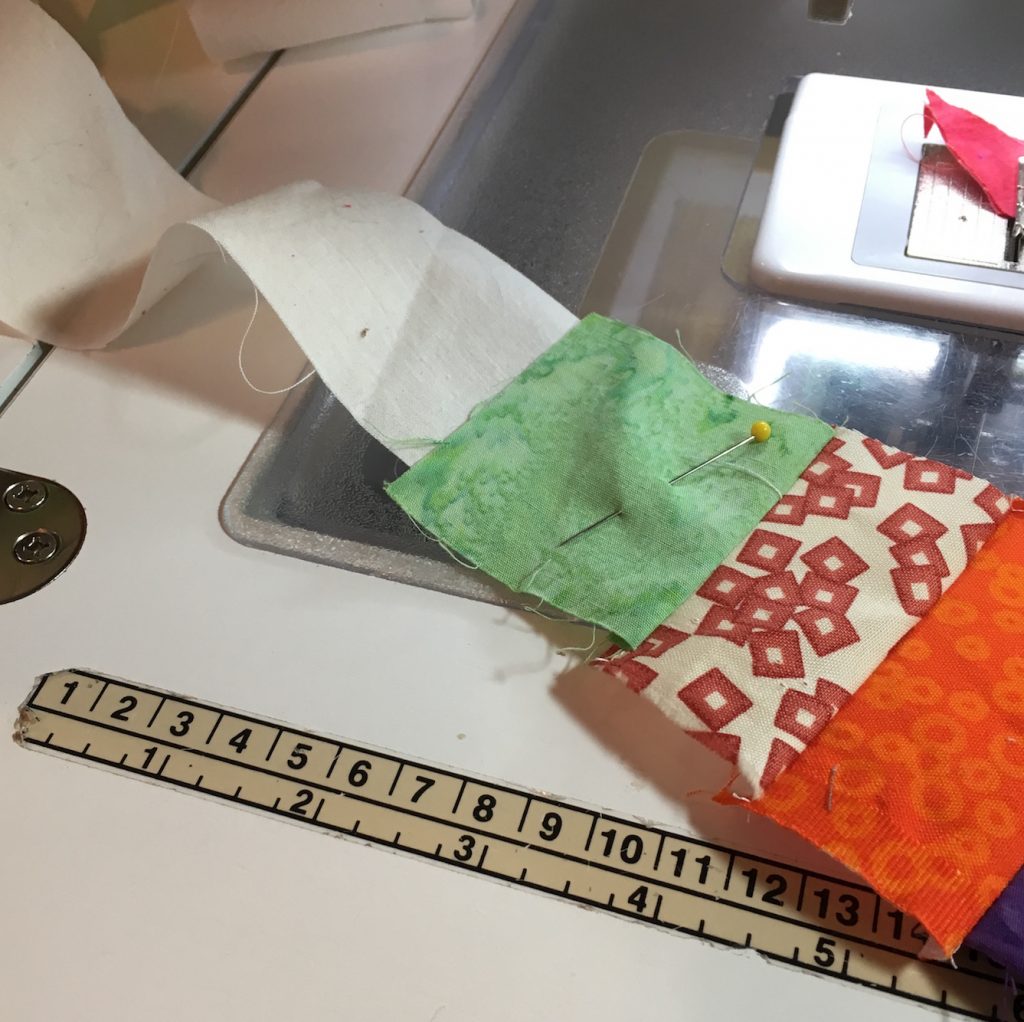
Place the new scrap on top of the last one and sew it down. Don’t worry too much about wavy edges – you can always cut it down to a 1/4″ seam after you sew it.
Keep adding scraps to the strip until you get a good length of scrappy strip. I was working on this during the NFL playoffs and made 4 yards of scrappy strip during the first half of one game!
This is a strip after piecing all the scraps on to the muslin, but before trimming:
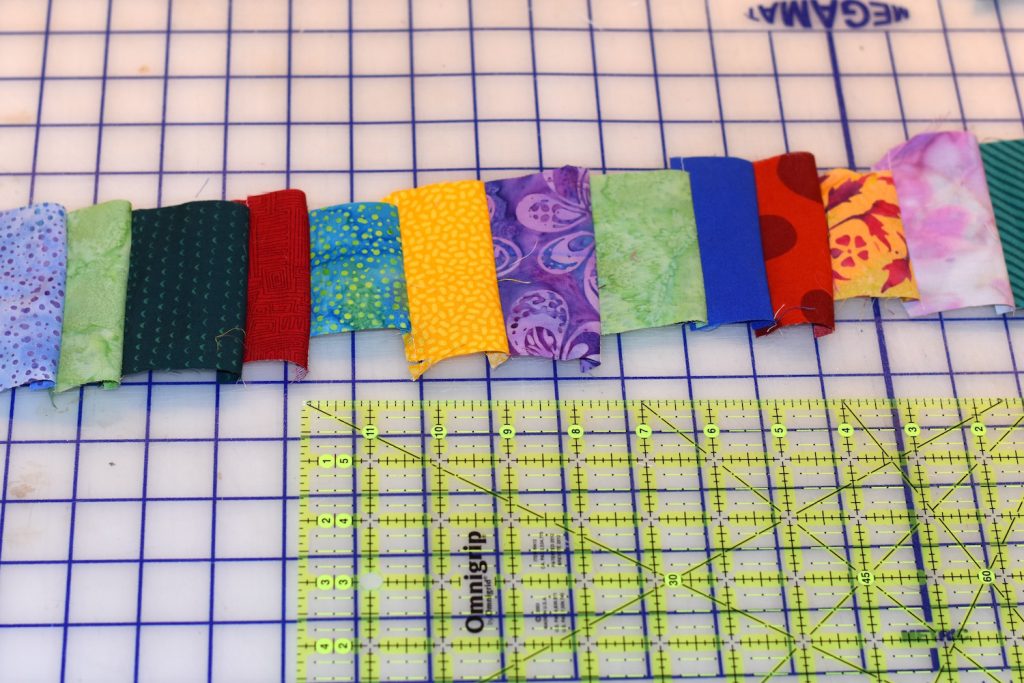
Once you get your strip to the length you want, trip it down to the width of the muslin:
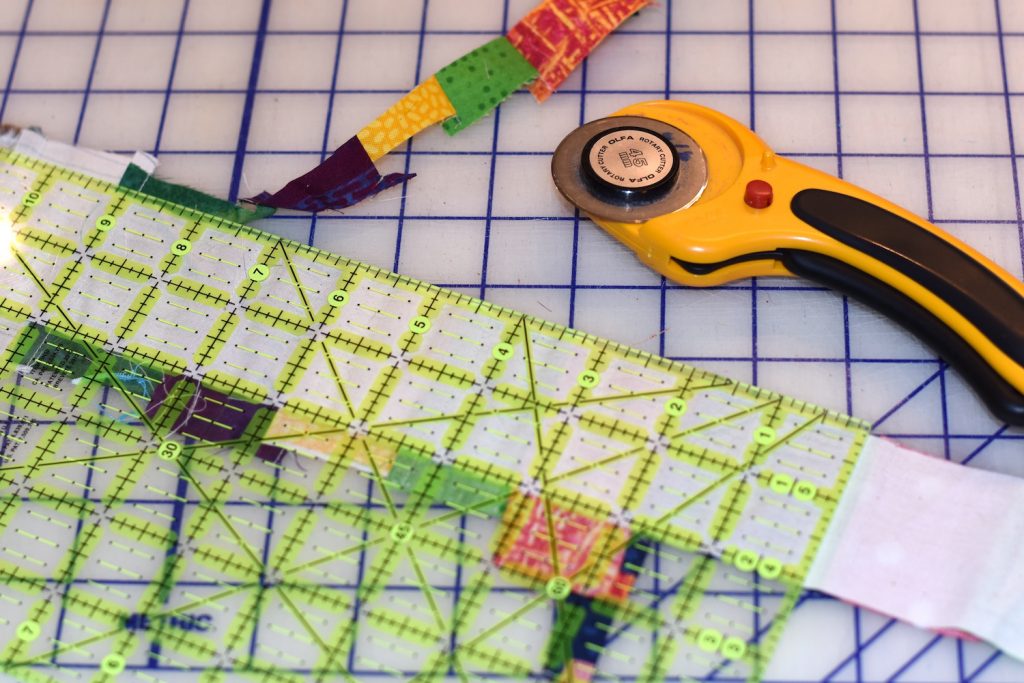
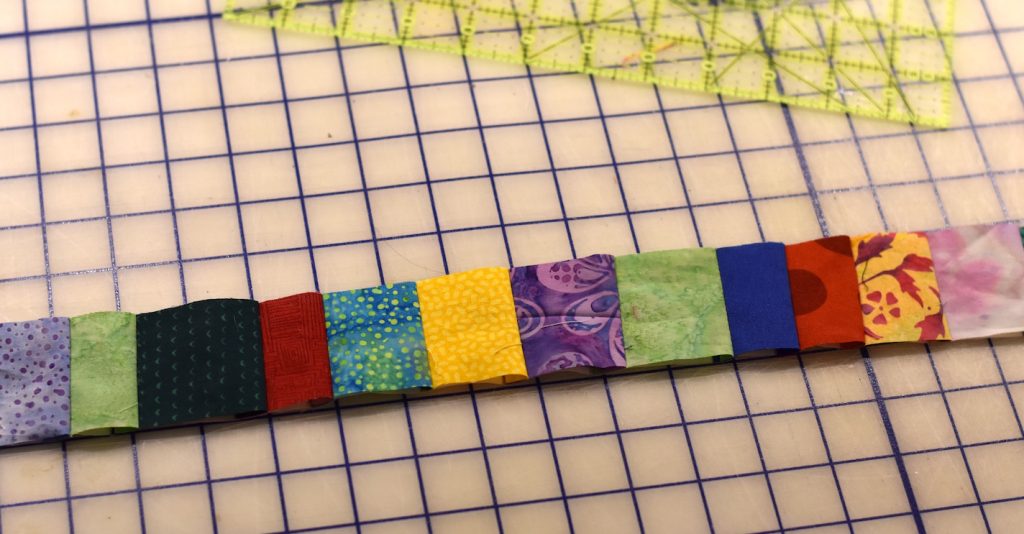
After the trimming, the scrappy strip looks like this:
Now that you have a long length of scrappy strip, it’s time to use that strip to make a block.
For my Bee block, I’d prefer blocks that have at least 2 scrappy strips on them, in any configuration you like. One option is to make a cross block. To make a 12.5″ block with two scrappy strips, you will need at least 26″ of scrappy strips – probably best to do a full yard. Make your scrappy strips on a 2″ muslin strip to yield a 1.5″ strip for the finished block.
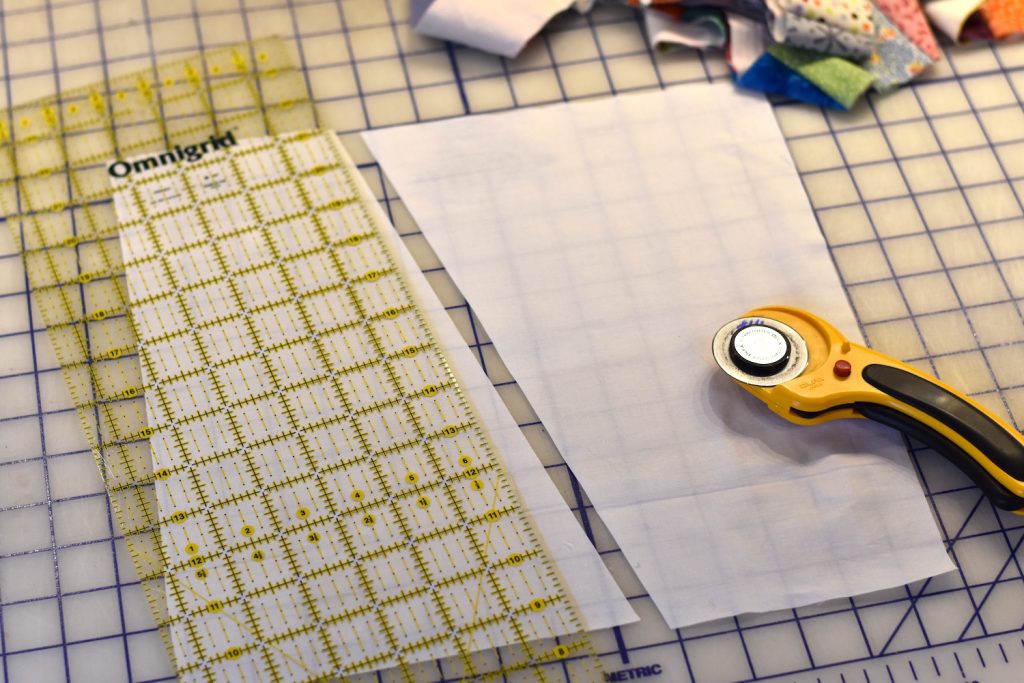
As the finished block should be 12.5″, start with an all white block that is at least 12.5″ big. I often have problems getting the block to be big enough in the end, so I find it best to cut my starting piece quite a bit bigger than what I want the finished piece to be. In this case, starting with a 14″ square will likely give plenty of extra space.
Cut the white square at an angle you like:
Cut a scrappy strip to a length to cover the cut you made, then sew the strip to both halves of the block:
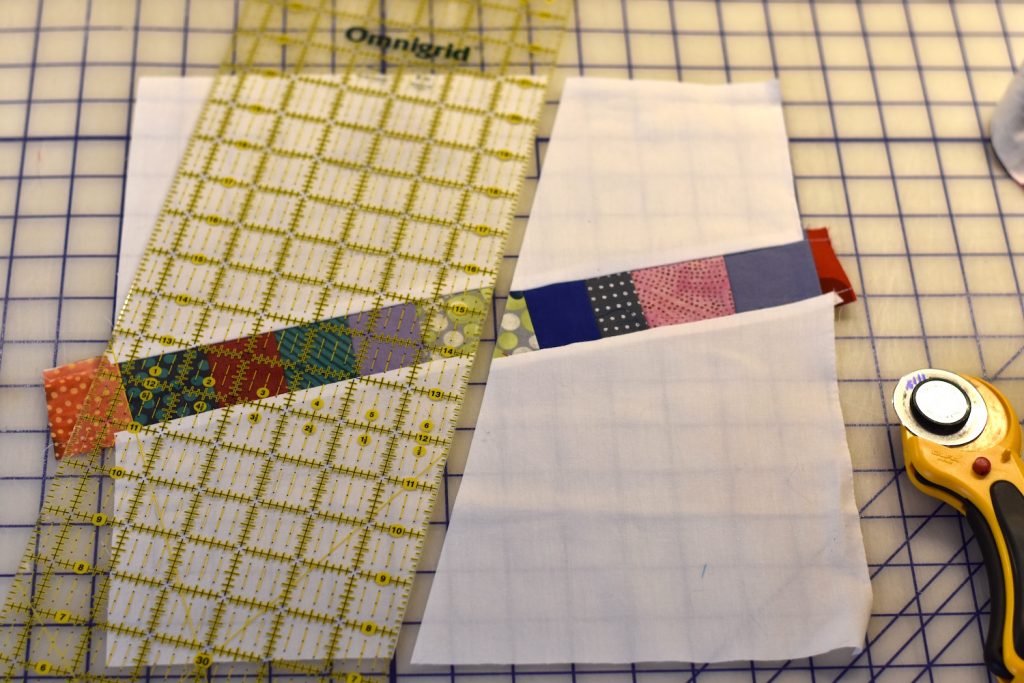
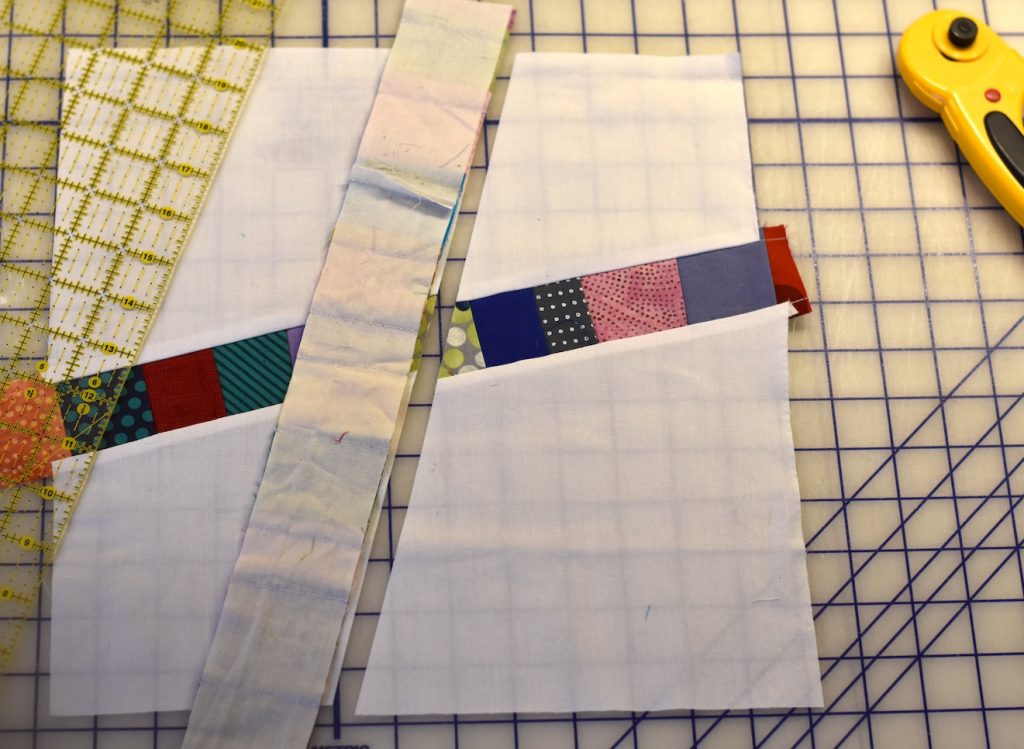
Cut the block in half again on another angle, then cut a scrappy strip to cover the block length. Sew the scrappy strip to one half of the block:
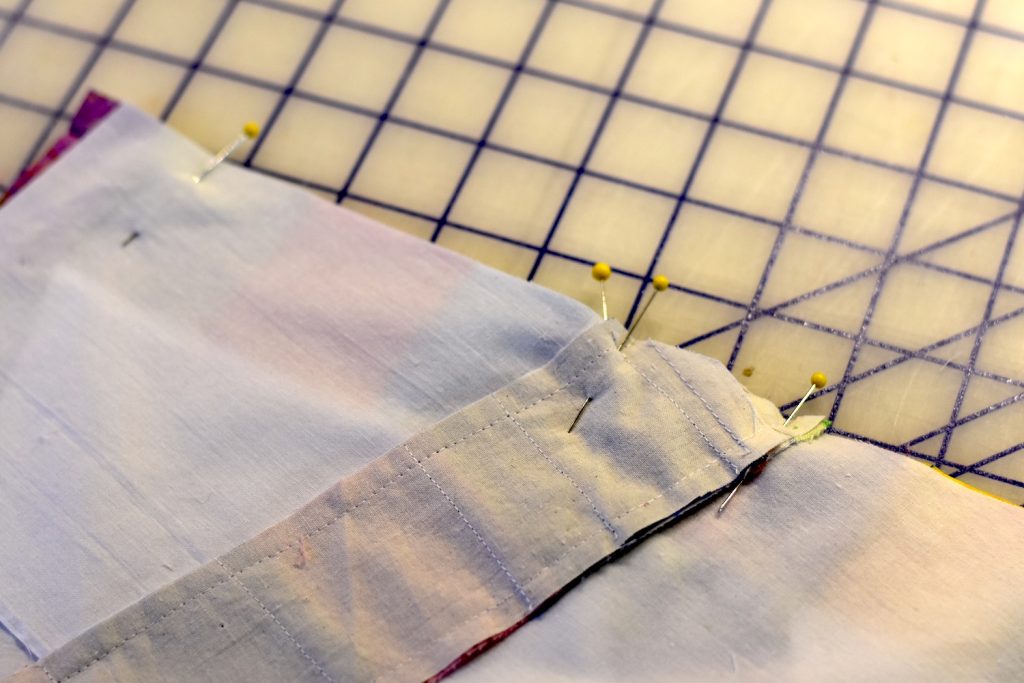
I often have a hard time getting the cross to match up on the other side, so I developed this method. Use a small ruler to continue to the line of the cross from one side of the block to the edge. Place a pin in the fabric where the ruler meets the edge of the fabric. Repeat this on the other side of the strip.
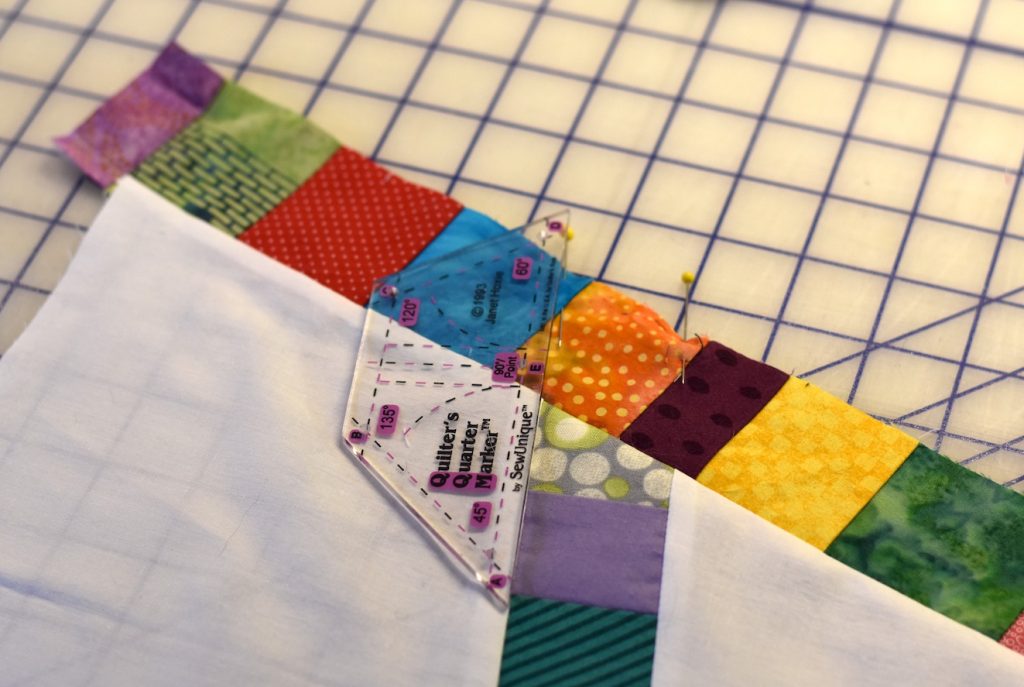
Place the other half of the block over the placement pins, and pin the strip in place (remembering your 1/4″ seam allowances!).
Sew the strip in place and press the block.
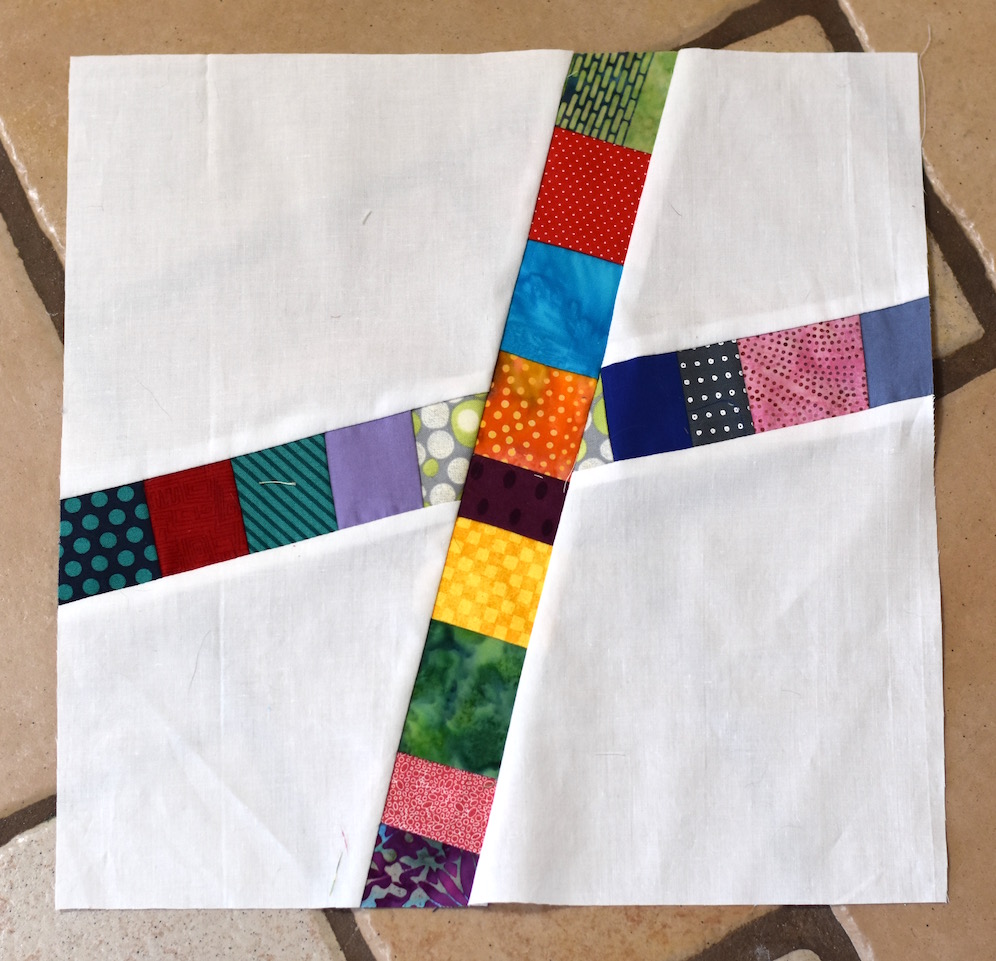
This is the finished cross block:
For the Bee block, you don’t need to do a cross. You can do any design of strips across a solid white background that you like. For my second block, I started with two strips running across the block:
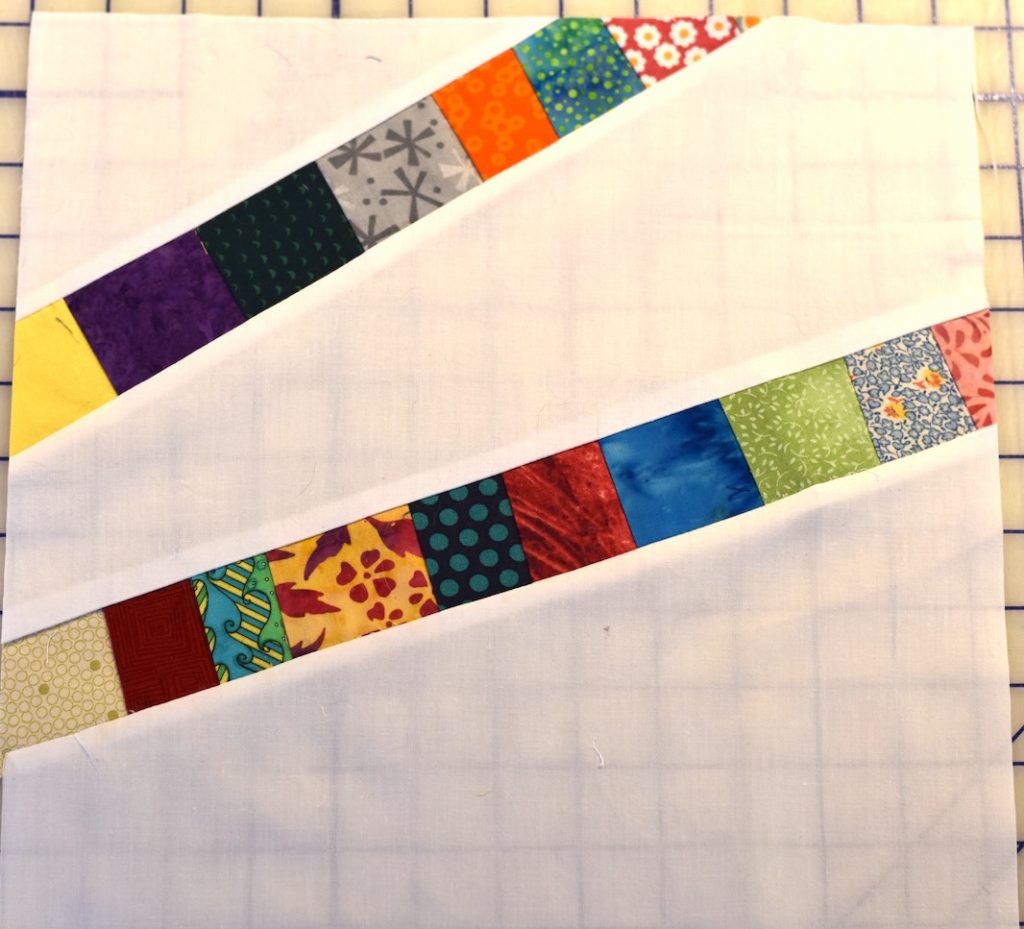
I didn’t love this – I thought there was too much white space. I cut it in half and added another strip:
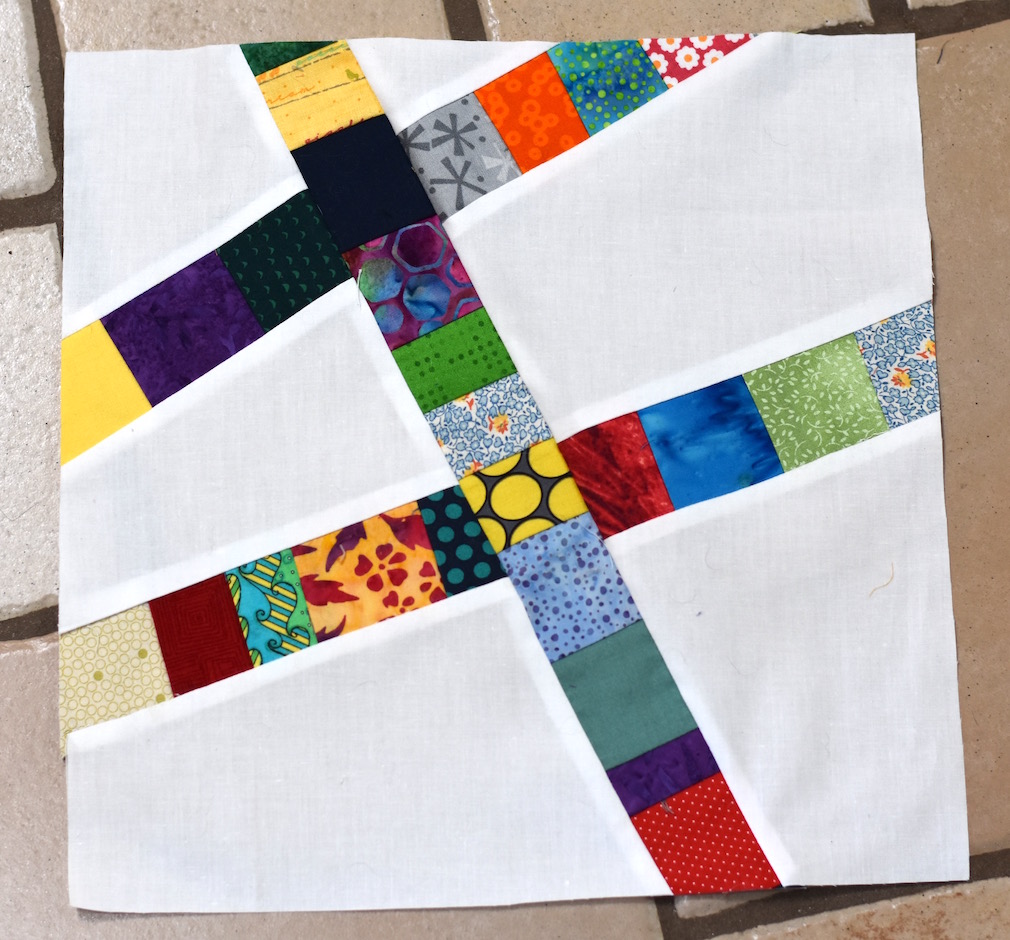
…and I like it much better!
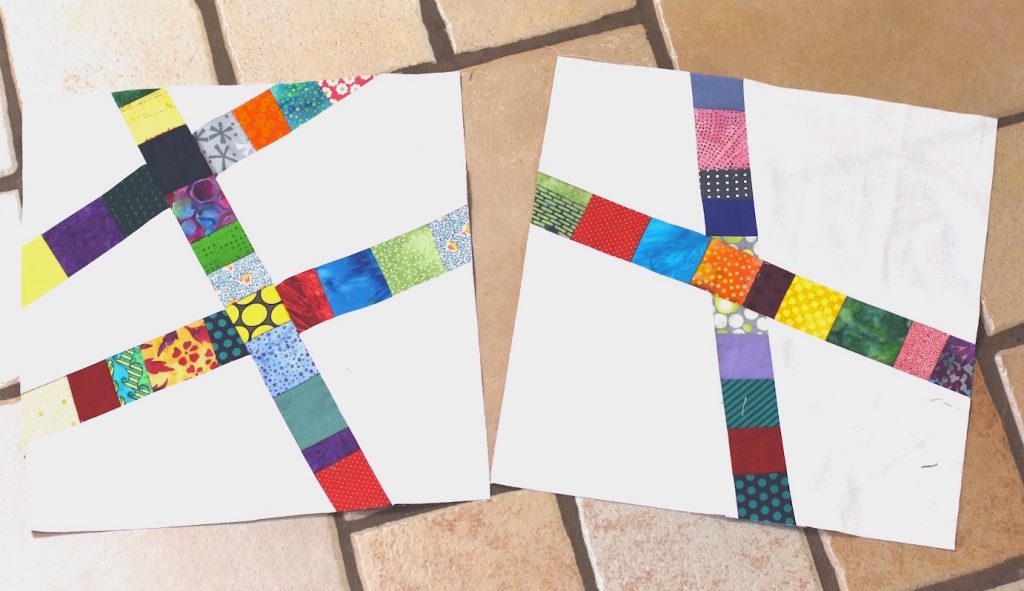
These are my two finished blocks, and I’m pretty happy with them:
I hope you enjoy doing the block. If you aren’t in my Bee group, I hope you try making scrappy strips and some fun improv blocks. I’d love to see what you make!
This block will be fun! Great tutorial!
Beautiful! I will enjoy making this one!!
These are too fun, and a great scrap busting idea! Thank you for the tutorial!
Thanks! I hope you try it out!