Ever have a quilt fight back? Man, this guy was just a battle. But he’s done, and I’m happy with the result.
This is the last of my vertical line, use-up-the-random-single-charm-pack quilts. I started all of these some time ago, and used the opportunity to finish them as long arm practice quilts. I am glad to get through them as I’m struggling coming up with new ideas for quilting these!
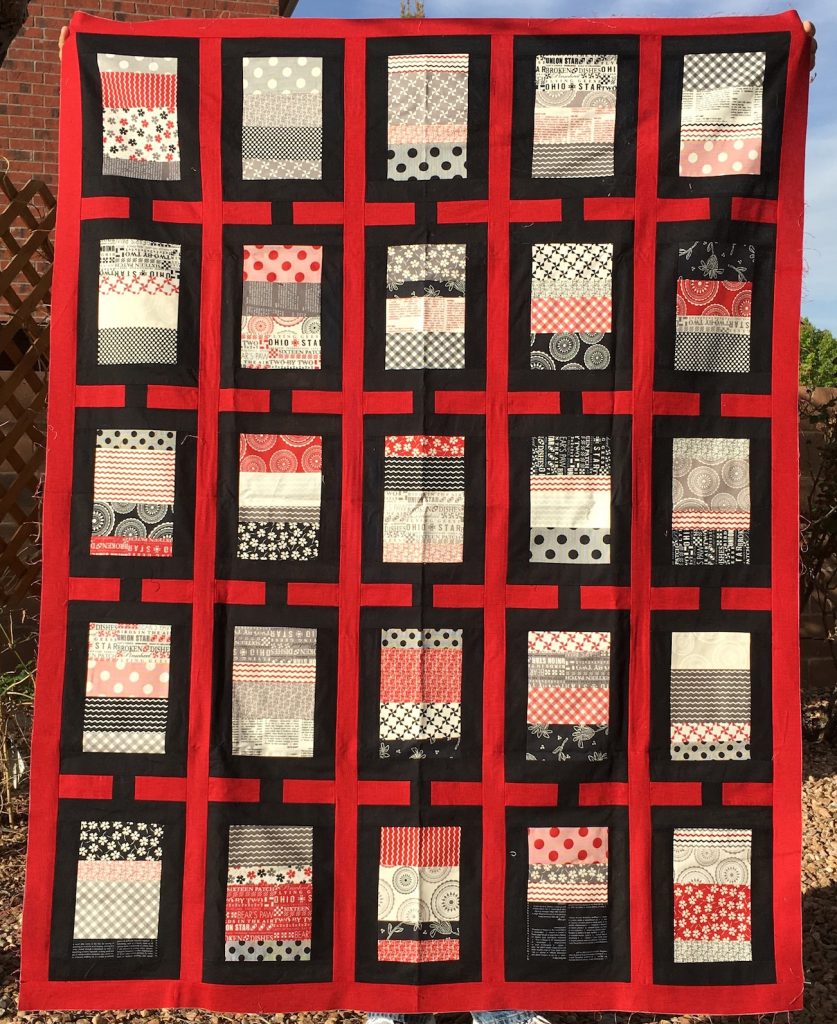
I drew up a plan for the quilt, and cut up the charm squares into strips of various widths.
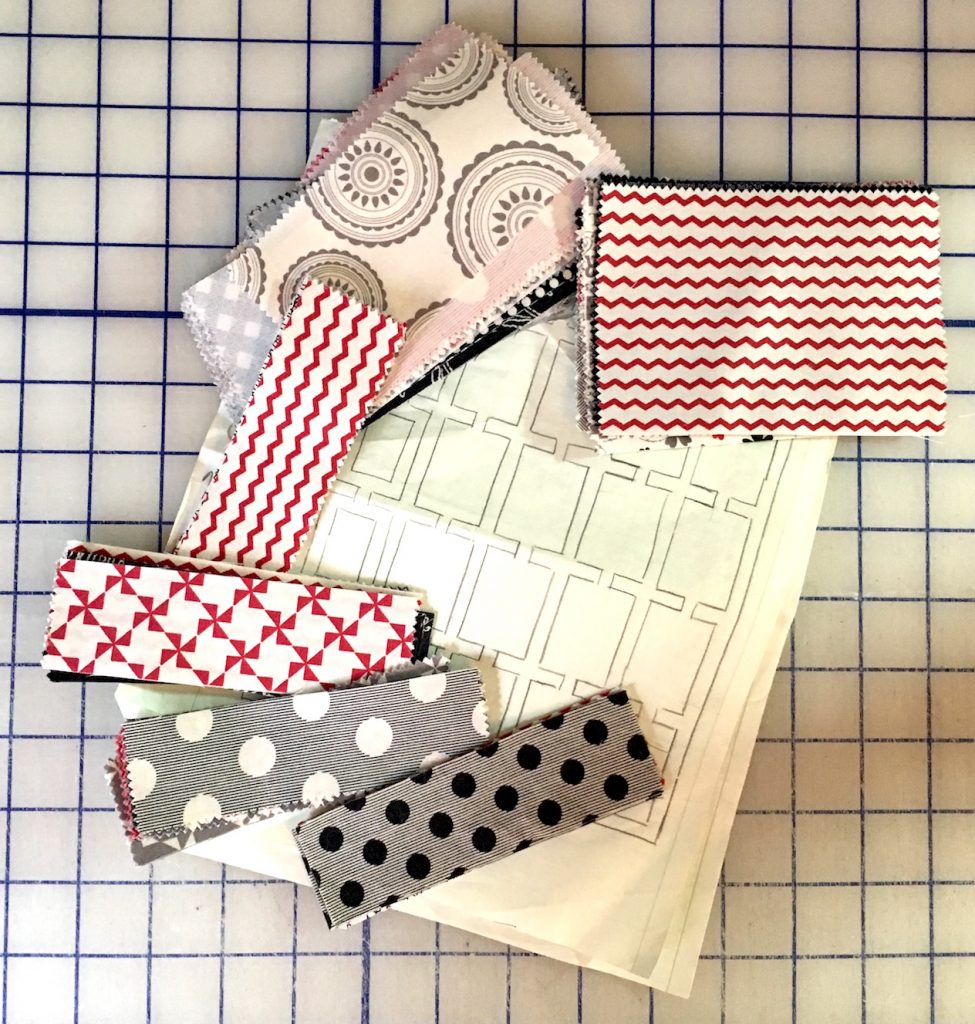
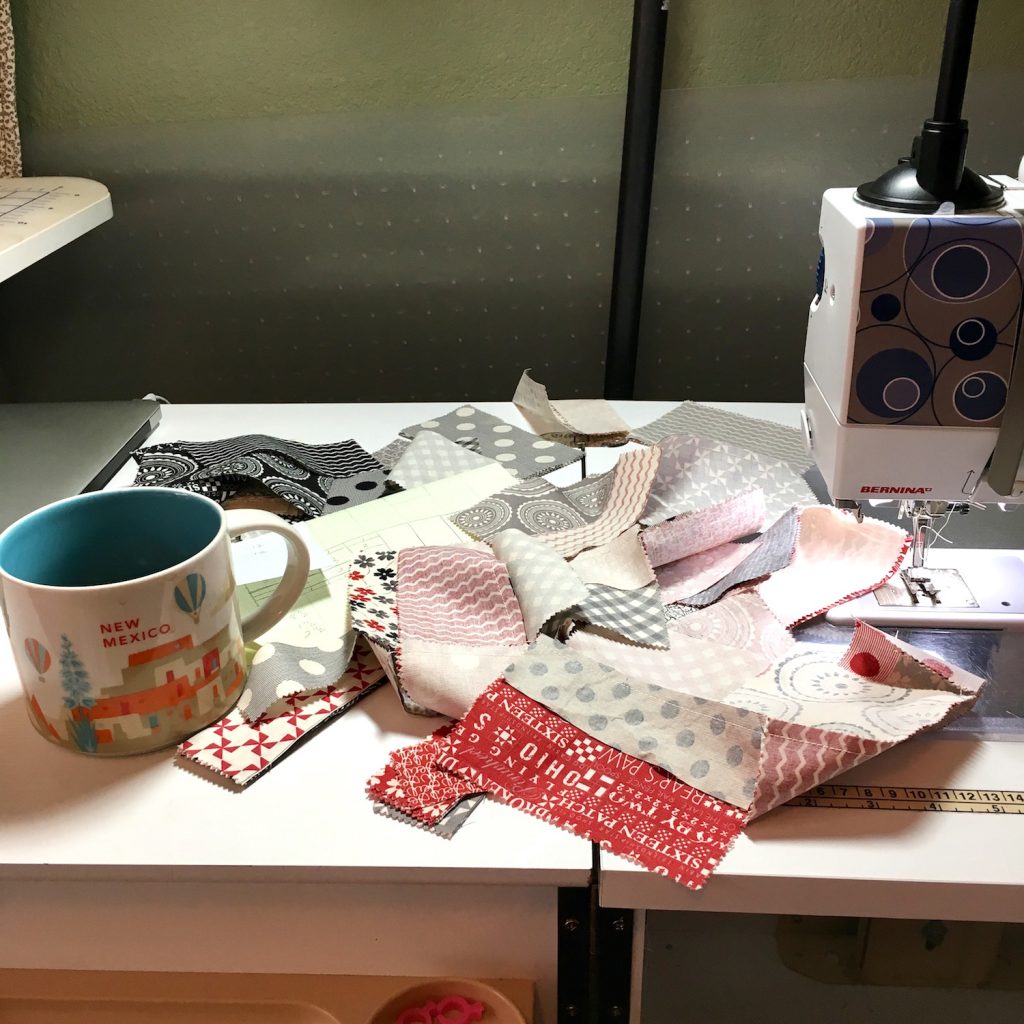
After the cutting, I started doing a lot of chain piecing to get all the coin rectangles together.
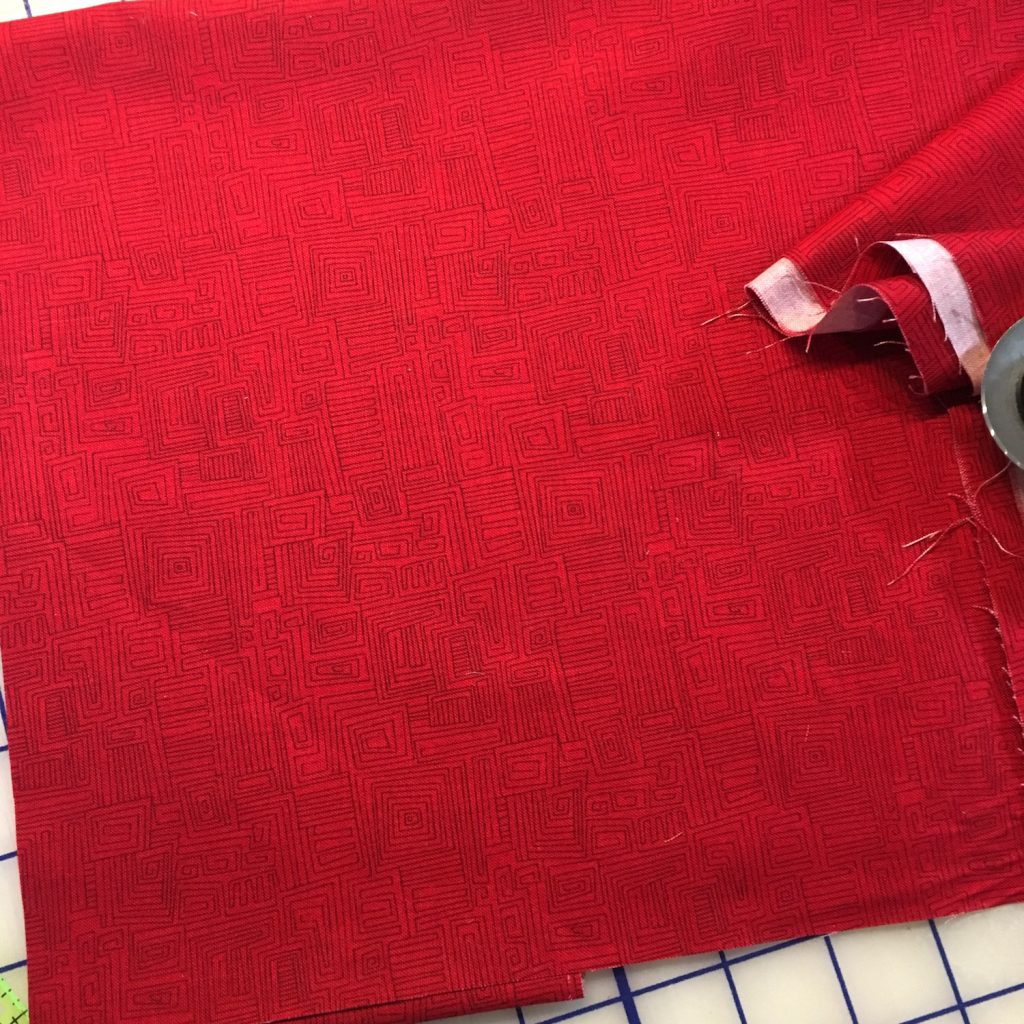
I had some black in my stash to use for the borders of the coin rectangles, but I had to find some fabric to use for the border/sashing. I found this great red piece that had black lines in wonky squares, which I though was perfect for the pattern.
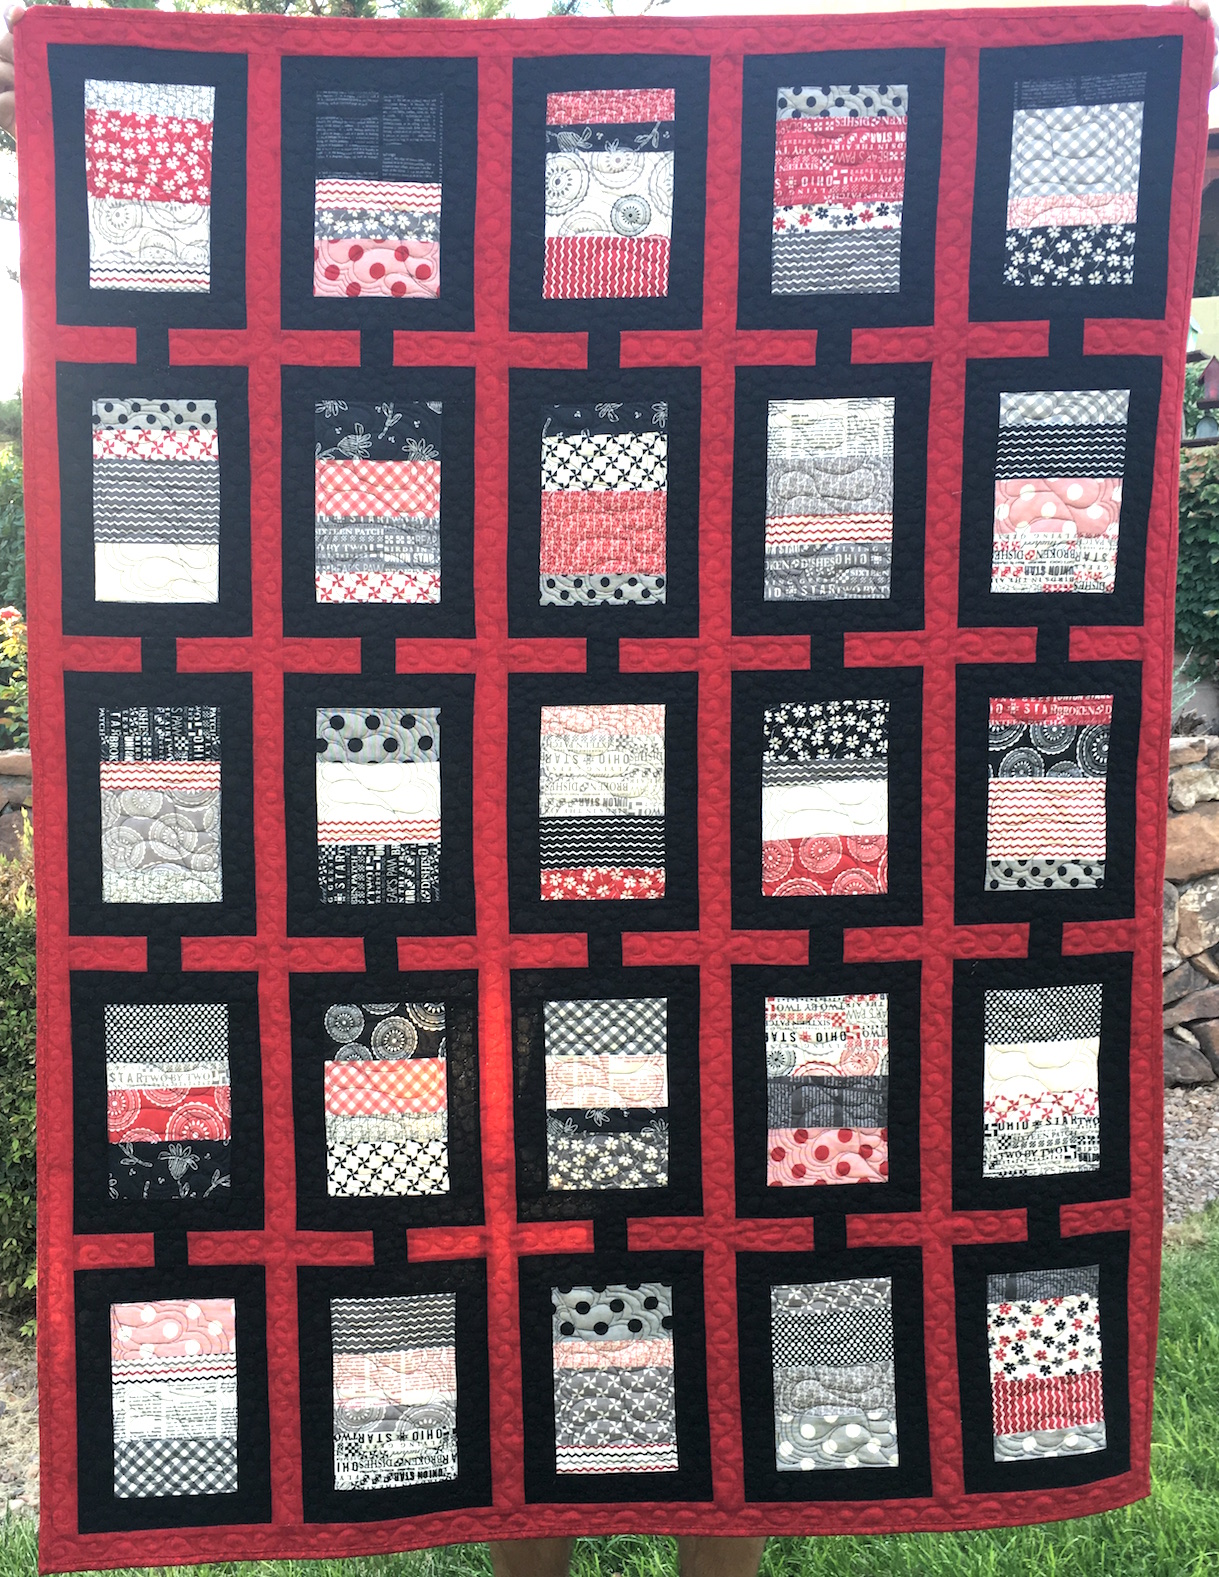
And the finished top:
After getting the top together, I had to decide on a backing and on a quilting pattern. I did a bunch of sketches to land on the quilting plan. I wanted practice quilting feathers, so I decided to do a modified feather pattern in each of the rectangles. For the backing, I found the same fabric I had used for the sashing, but this time with black circles on it rather than the squares. I loaded it up and started to work on the tension. My plan had been to quilt this using some Aurifil thread I had, mainly because I want to use my Aurifl on the next quilt I am planning, But this is where all the problems started (to be clear, the thread had nothing to do with my problems…)
I stitched up a tension test and got this:

Can you see all the white spots? It looked much, much worse in person. At first I thought the batting was bearding, so I tried a bunch of different things – different threads, tensions, new needles, different needle sizes. Finally I just tried sewing on the fabric without any batting at all, and got this:
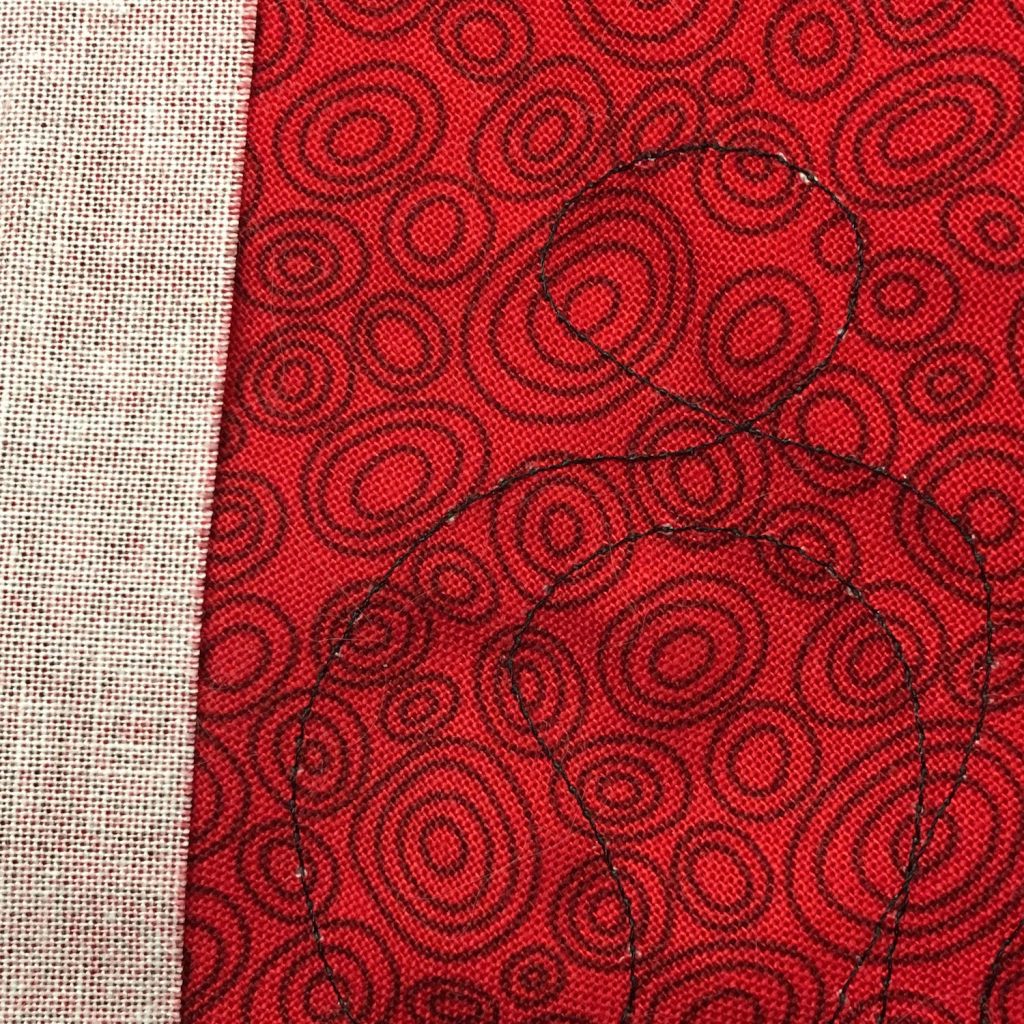
It wasn’t as bad, but again looked much worse in person and the white spots are still there – clearly the batting wasn’t the problem. It appears that somehow the white threads from the back of the fabric were getting poked through to the front. I couldn’t find any way to stop this from happening, or to minimize it, and the white on the red was really noticeable. I got really frustrated, pulled the whole thing off the frame, ripped out the stitches I had started, and left it in a heap in the corner of my sewing room.
After taking some time out and working on a different project, I decided to try it again. The first step was to decide what to do with the backing. It seemed like a shame to not use all this fabric I had purchased, and I didn’t want to spend money on more fabric, so I decided to just go back to using muslin. I also decided to use Isacord thread as I am pretty comfortable sewing with it, rather than risk more possible frustration with thread problems.
The black thread I used blended in well with the block borders, but was pretty scary to sew with on the blocks, especially as I’m pretty new with feathers. I wasn’t terribly happy with my first few blocks – I think the feathers look like fat thumbs, and I didn’t do very well on the stitch backtracking – but I did get better with over time.
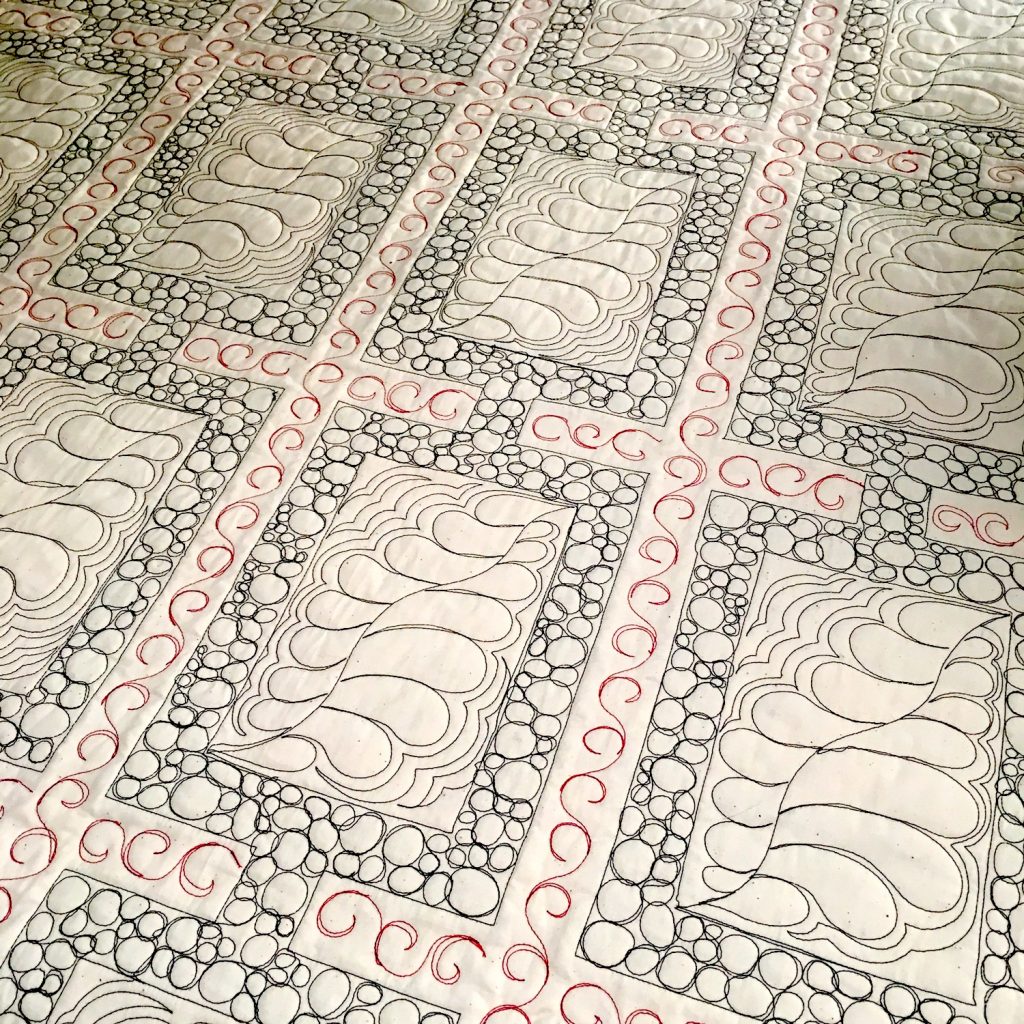
Here is a close up:
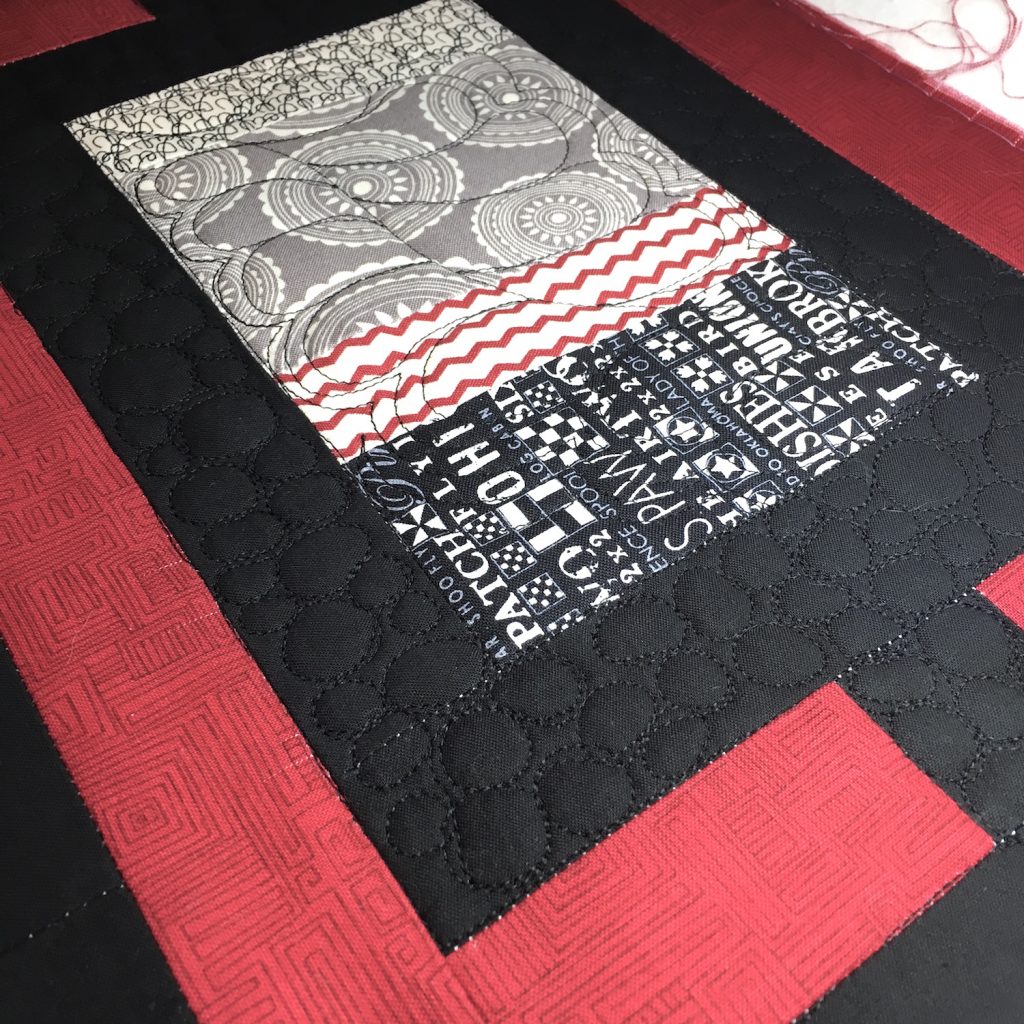
I really need to remember to use a darker thread when piecing dark fabrics.
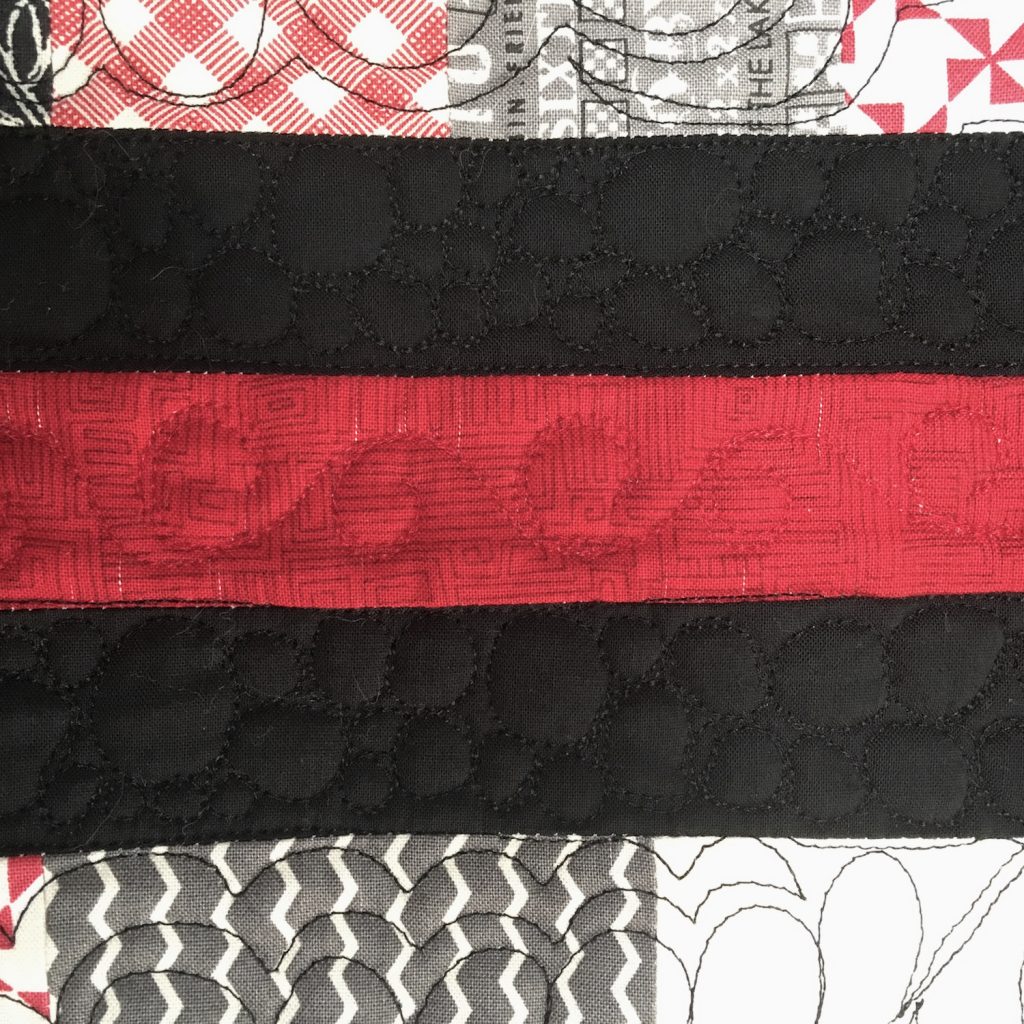
I switched to red thread to do the sashing, and I was very nervous about the sashing fabric having the same problem with showing runs or white spots on the fabric. I tried a sample area and did have some problems, but decided to just go with it.
And then just like that, he was done! I took him off, trimmed him up, practiced more machine binding, and here is the finished product:

While I was working on it I was really nervous about the back – black and red thread on muslin really stands out. At first, and close up, I thought it looked like I had drawn with sharpies all over the back, but after I got it off the frame I really like how it looks.
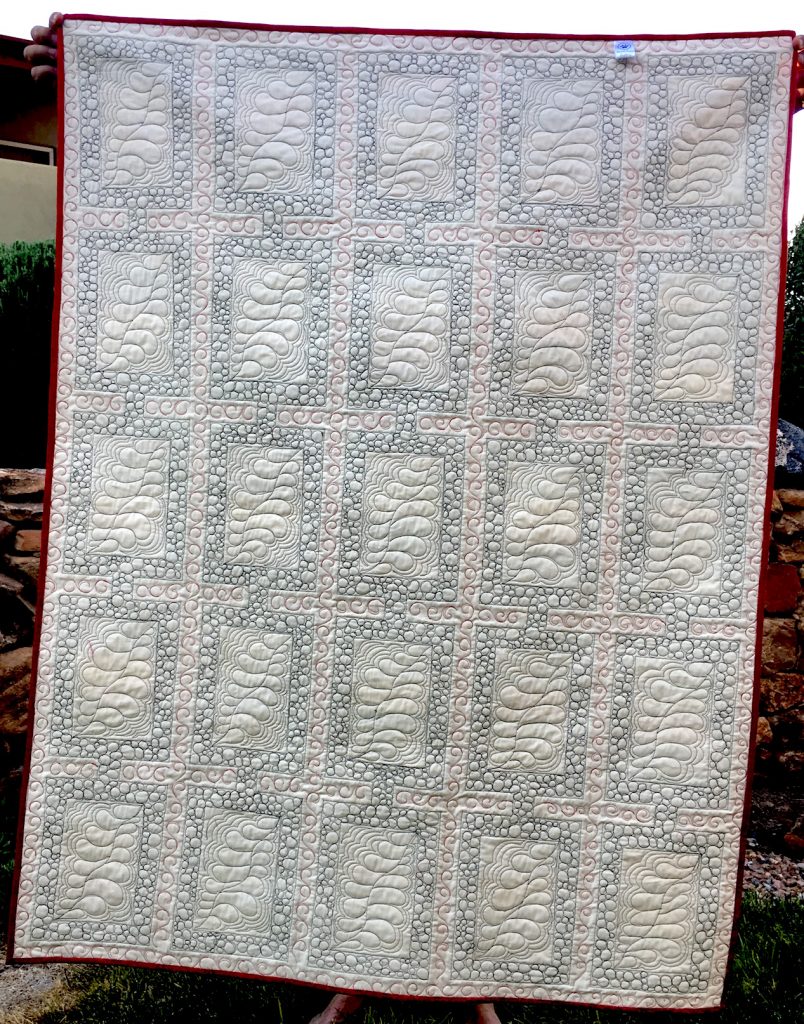
Here is a close up:
I don’t know what it says that I’ve been happier recently with the backs of my quilts than with the fronts, but I’m happy, so I’ll take it!
Lessons learned from this battle:
- Piece dark fabrics with dark thread.
- Sometimes fabrics – even nice, quilt shop fabrics – can run and have problems.
- I’m getting better with getting the tension set on my machine.
- Don’t be too critical of the work while in progress and with your nose right up next to it. I’m usually really happy with it in the end!

Red, Black and White Coins was #2 on my Q2’17 FAL list, so I’m happy to link up with the Q2’17 FAL page
Great quit the back looks awesome. I am always quite critical myself of my work while in the midst of it and usually happier when I’m done. I find I have to let go of the perfect image I have in my head before I start.
Thank you, and great advice. I just have to take a deep breath and keep going!
This is just the sort of project I need to set up for myself to use some of the older fabrics in my stash. What happens to the finished quilt? The back of your quilt looks so great – that means all your quilting practice must be paying off.
Thanks so much Sue! It is a good one for stash scraps. I’m thinking I’ll probably donate this one to a local Project Linus.
Wow! The back is amazing! Thanks for participating in the FAL!